Divi Tutorials
How to install templates
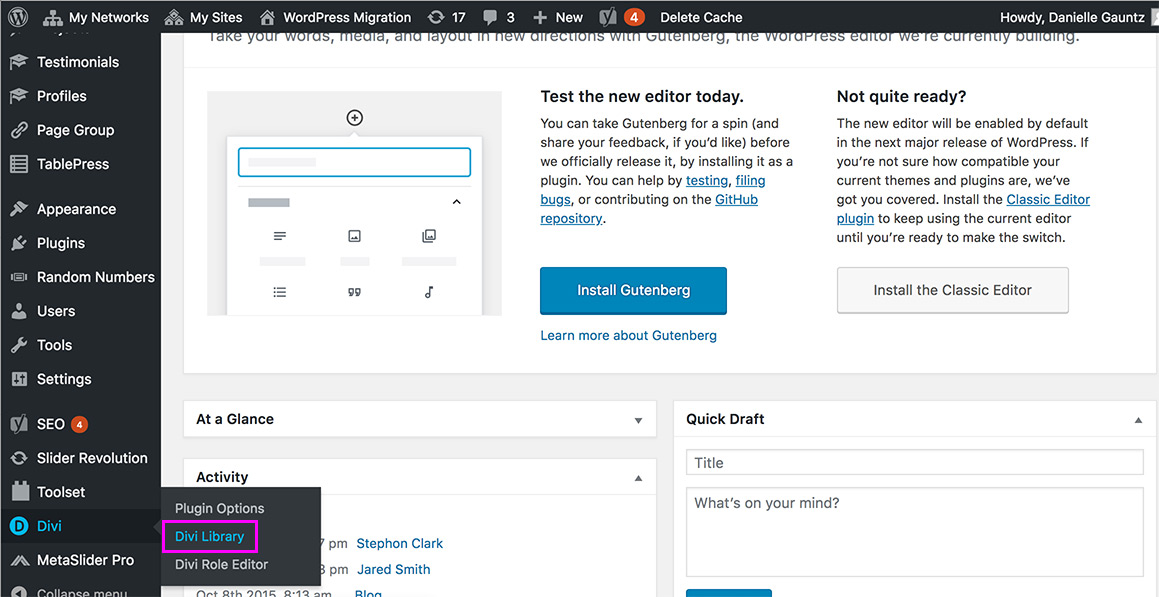
Once you are logged into WordPress scroll down and select Divi and the Divi Library.
Click on the Import & Export tab at the top.
")
Click on the Import link.
")
Click on the CHOOSE FILE button and select the template you would like to import for this location and then click the blue Import Divi Builder Layouts button.
")
Add template to your page
Add a template within a page
Navigate to the page you would like to implement this template on and hover over the bottom of the blue box where you would like to add this template too and click on the blue + sign.
")
Click on the Add From Library tab.
")
Select the template you would like and then you can edit from there.
")
Add a whole page template
Navigate to the page you would like to implement this template on and select Edit Page from the top menu.

Click on the purple Use The Divi Builder button.
")
Click on the Load Layout tab.
")
Click on Your Saved Layouts tab.
")
Click on the layout that you uploaded.
")
Click on the Use Visual Builder and start editing.
")