Setting Up Your Site
Prerequisites
- Have a WordPress login with Admin rights
Create the site in WordPress
1. Log in to WordPress (https://wou.edu/wp-admin):
2. Navigate to My Sites –> Network Admin –> Sites:
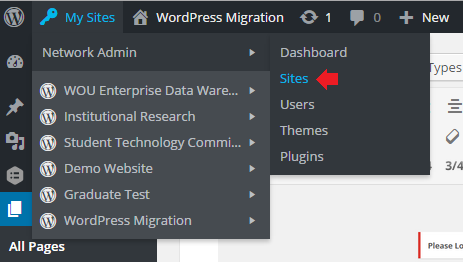
3. Click the “Add New” button at the top of the “Sites” page:

4. Fill in the site address, title, and admin email and then click the “Add Site” button.
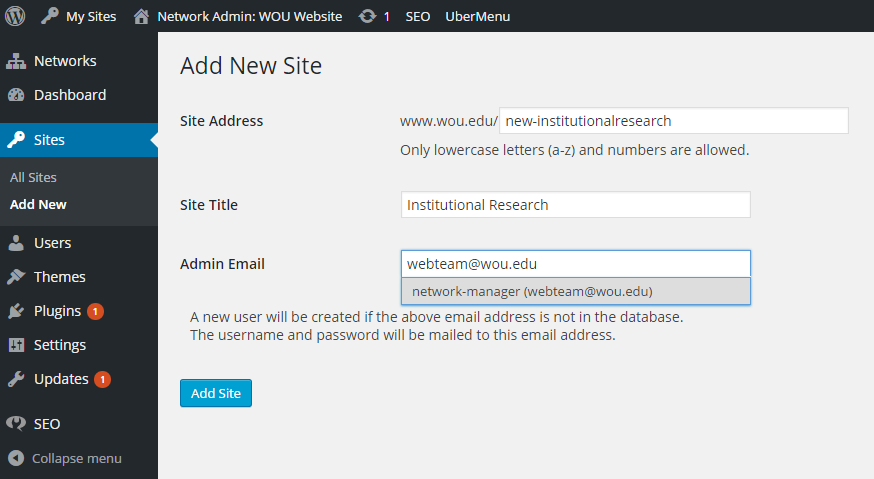
The site address should be as short and as intuitive as possible. For academic departments, please include “department” after the department’s name. For example, the Art Department’s site address would be wou.edu/artdepartment. Make sure to check that there isn’t a page for the site address already. In this case, wou.edu/institutionalresearch directs users to the already exisiting Institutional Reasearch website. To fix this, put a “new-” in front of the site address. This will be removed when the site goes live. For the Admin Email, type in “network-manager” in the box and select the suggested user.
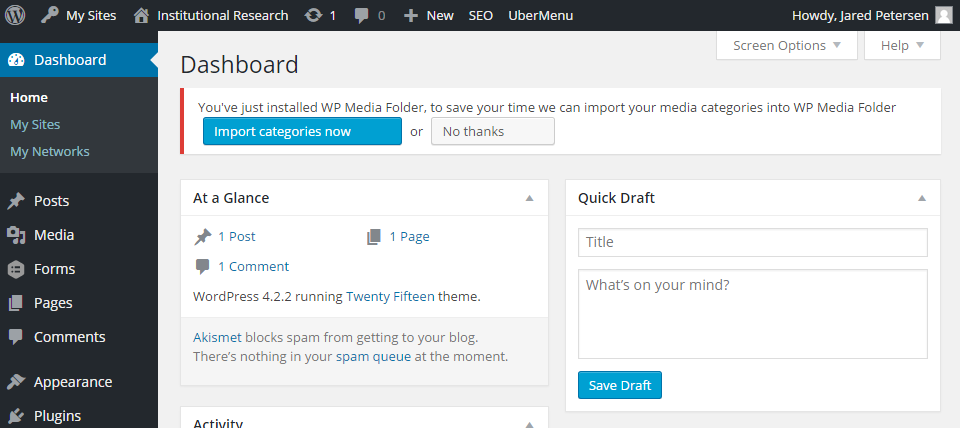
5. After clicking “Add Site”, WordPress will redirect you back to the “Add New Site” page and display a small success message that lets you know that the site has been added. Click the “Visit Dashboard” link inside the sucess message to navigate to your newly created site’s dashboard.
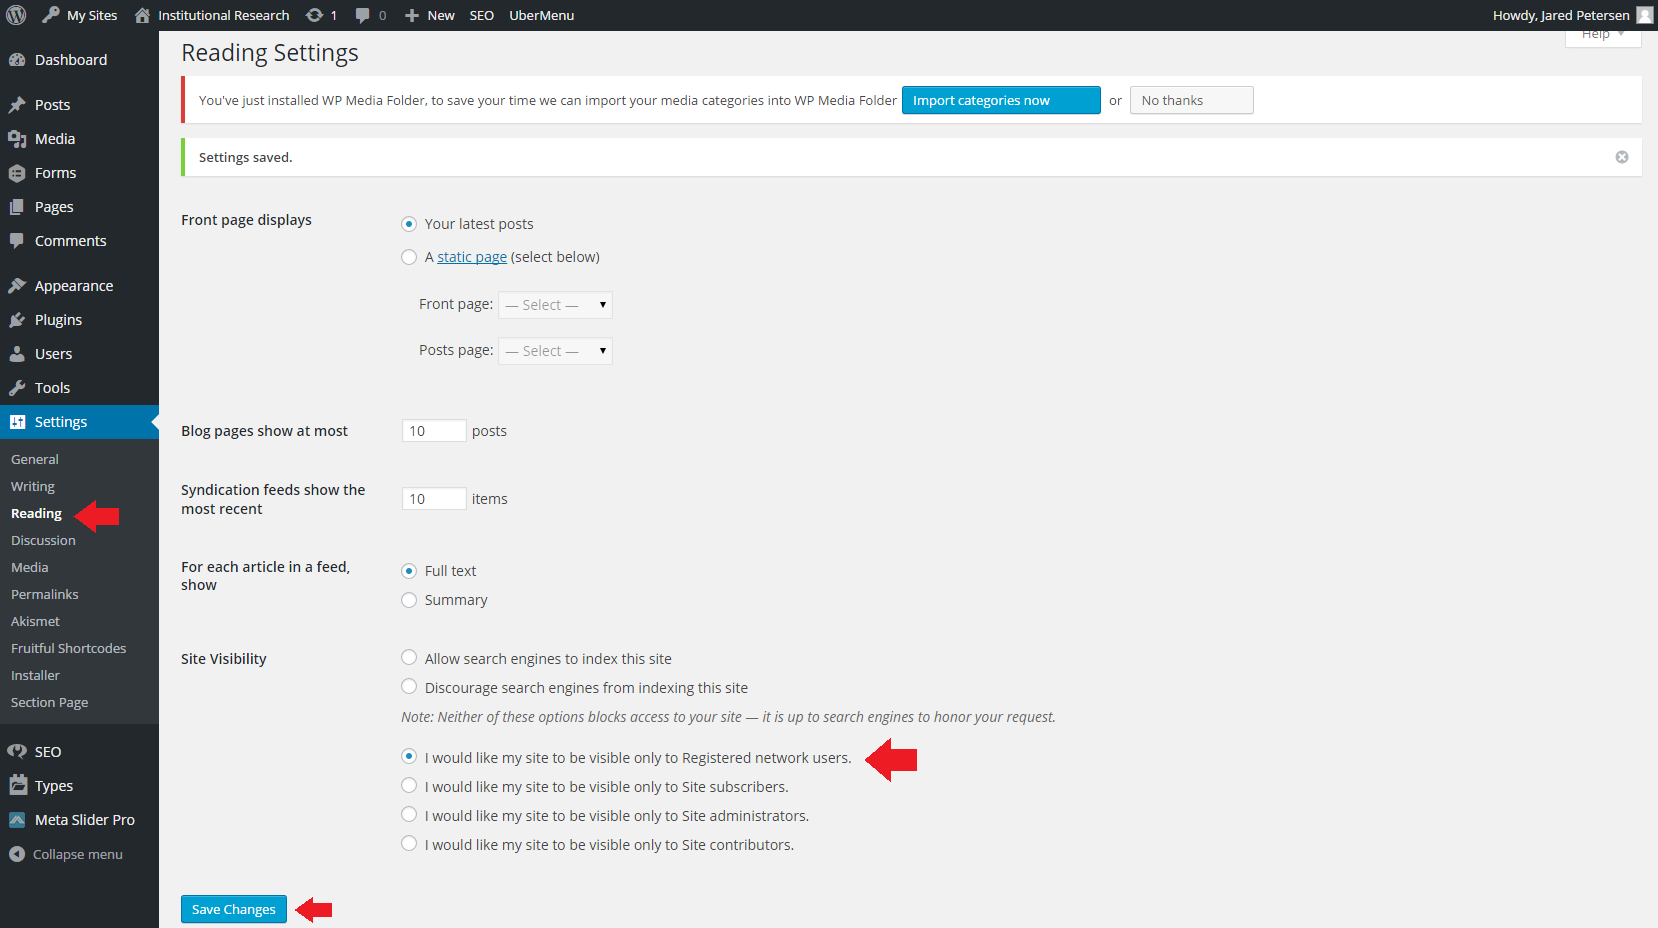
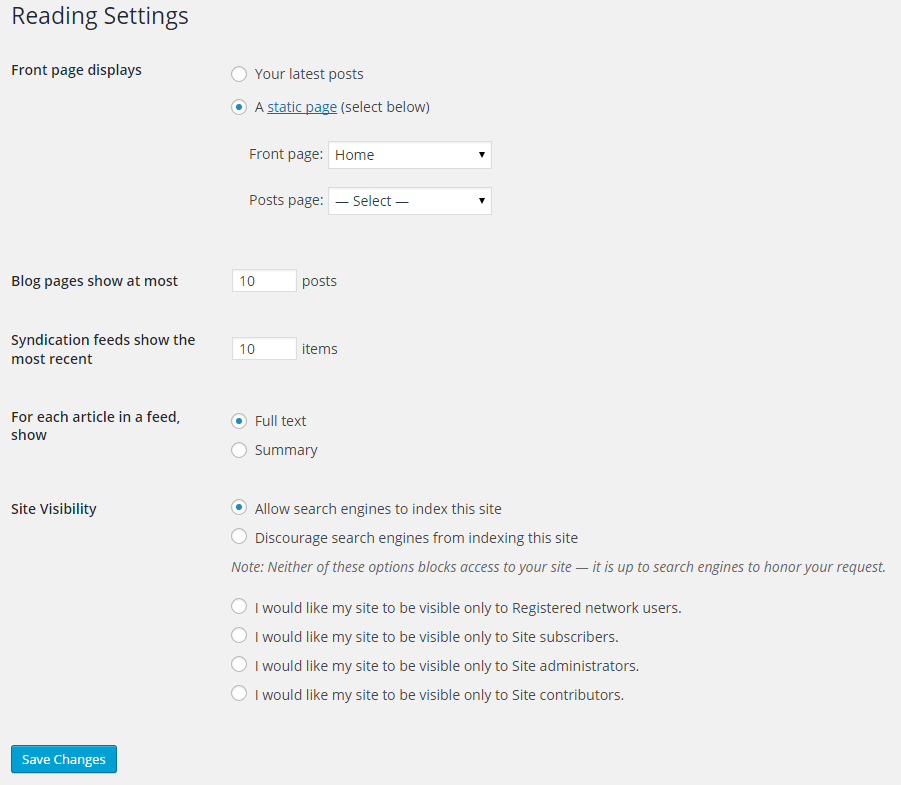
6. Now we need to make the site private. We can make it public again later, but we don’t want people looking at our site until it’s ready. To do this, Navigate to Settings –> Reading. On the Reading page, select “I would like my site to be visible only to Registered network users” and click “Save Changes”.
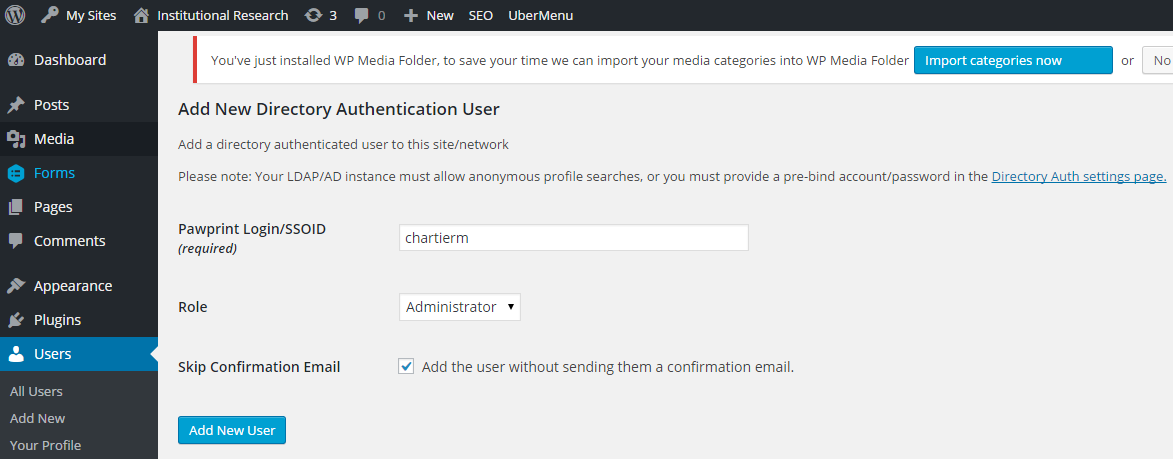
7. Let’s add a user to the site so that the person who will be managing and updating the site in the future will be able to do so. To accomplish this, navigate to the Users page and click “Add New Directory Authenticated User”. Enter in the user’s Pawprint username, select “Administrator” from the Role dropdown box, select the “Skip Confirmation Email” checkbox, and click “Add New User”.
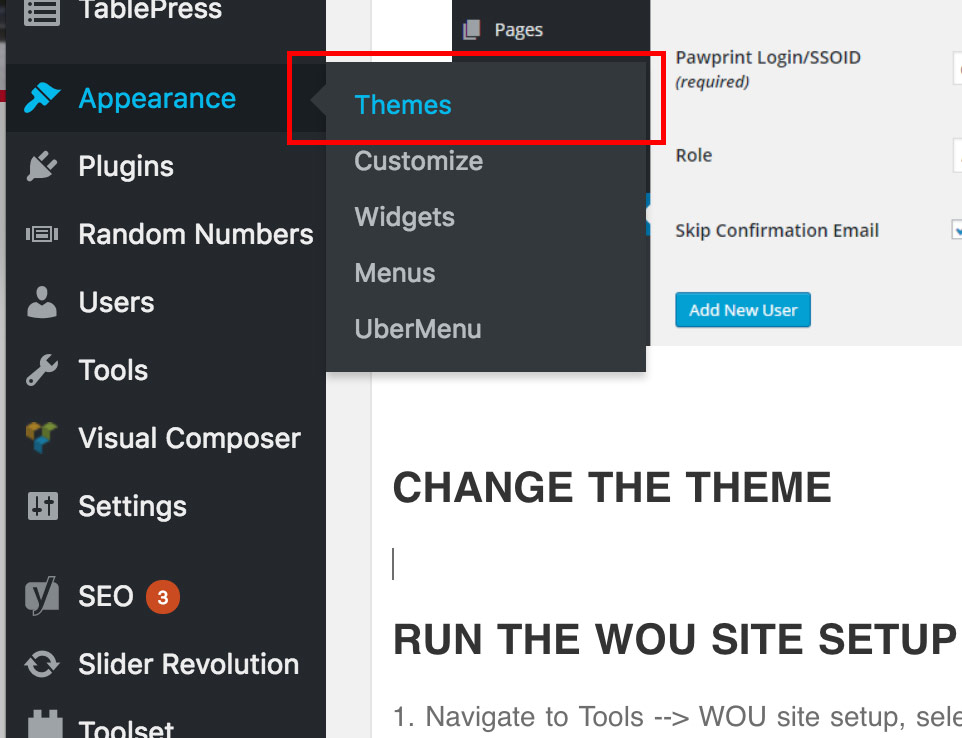
Change the Theme
Go to Appearance –> Themes and then click Activate on the WOU theme.
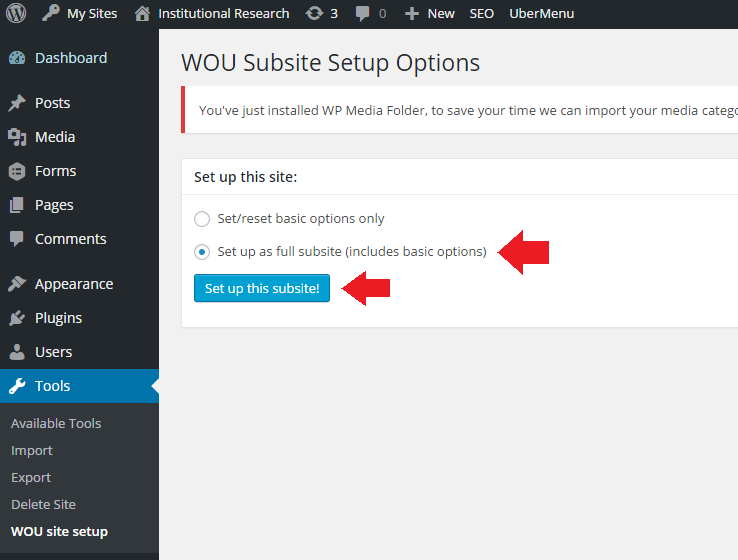
Run the wou site setup utility
1. Navigate to Tools –> WOU site setup, select “Set up as full subsite (includes basic options)”, and click “Set up this subsite!”.
Import types configuration
- Download the configuration file from https://wou.edu/~gauntzd/redesign/western-oregon.types.2015-04-29.zip.
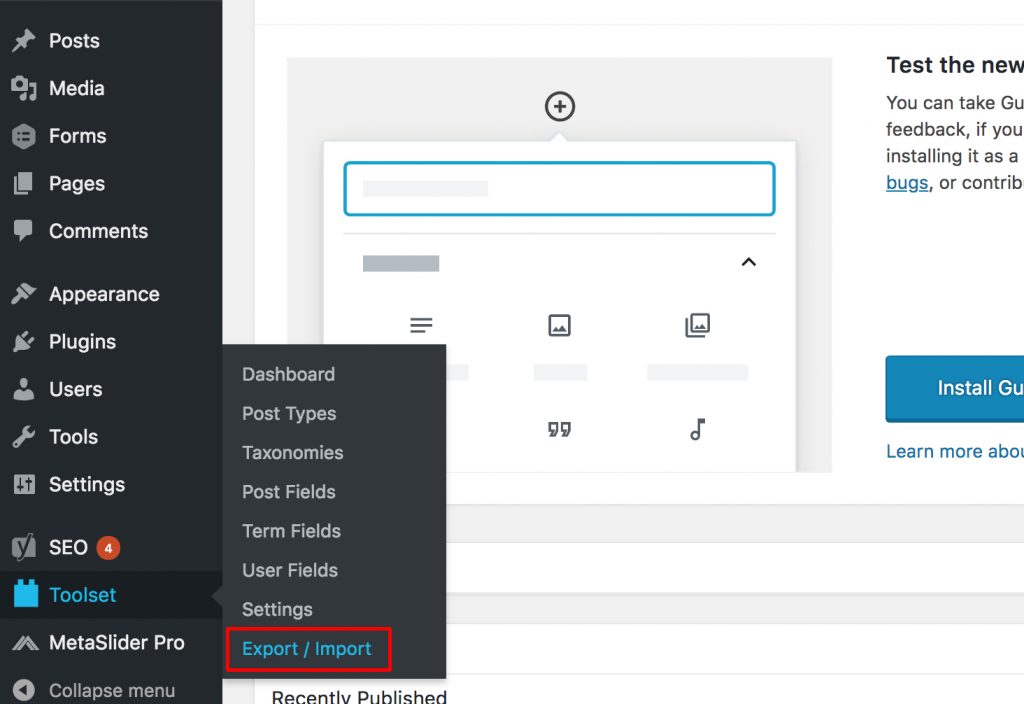
- Navigate to Toolset –> Export / Import.
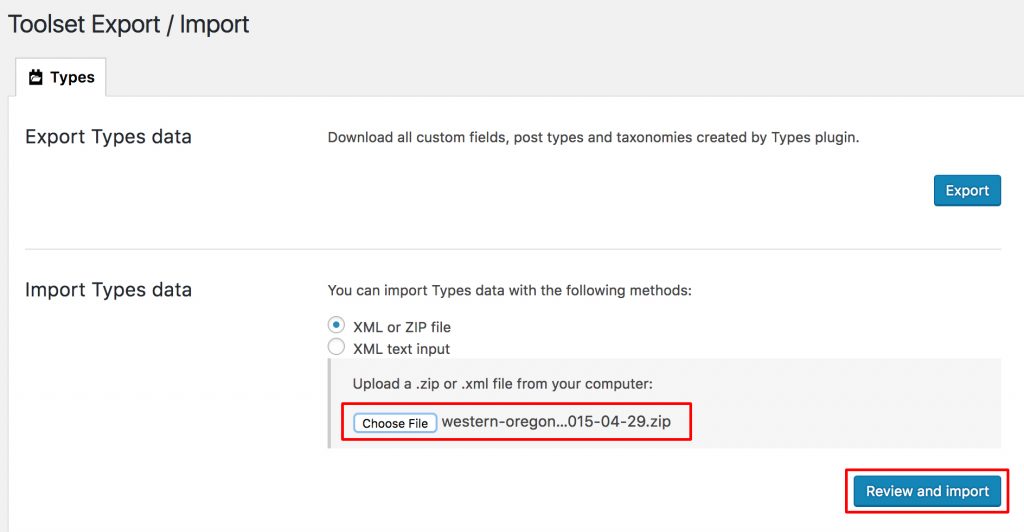
- Now click the Click the “Browse…” button. Select the file you want to Import and click the “Import file” button. Select the configuration file that you downloaded in the popup window and click the “Open” button. Click “Import file” to import the types configuration file.
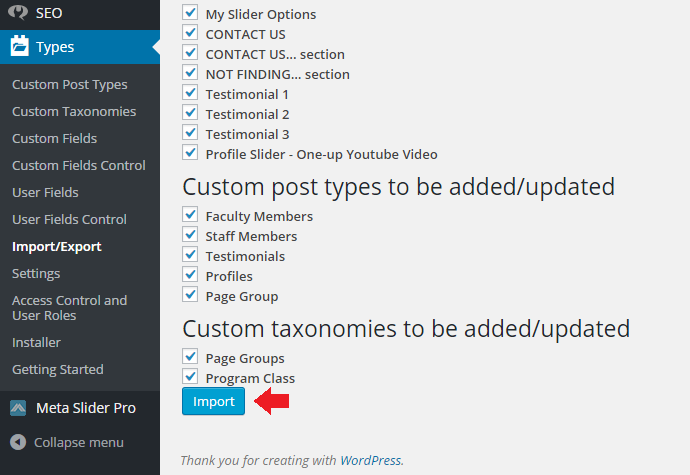
3. WordPress will redirect you to another page with a long list of checkboxes. Do not change any of them, just click the “Import” button at the bottom of the page.
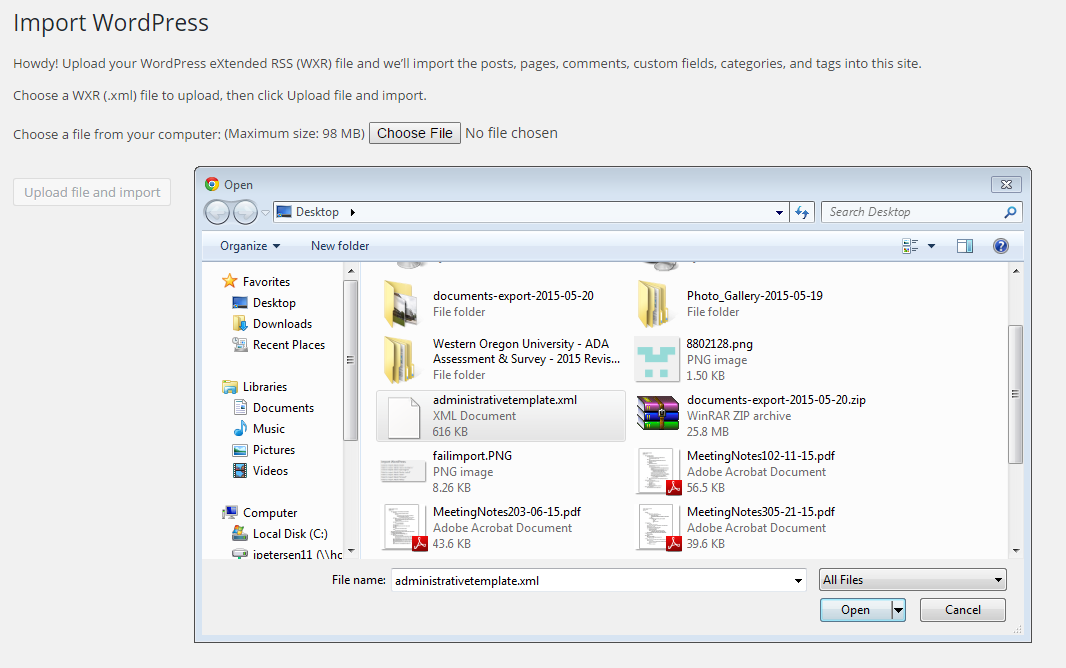
4. Navigate to Tools –> Import. Click on the “Importer” link next to WordPress upload either the administrative or academic template (available from the Google Drive).
5. In the following page that pops up, assign posts to admin, check the “Download and import file attachments” checkbox, and hit submit.
Pages & Menus
1. Navigate to Settings –> Reading, select the “A static page (select below)” radio button, select the “Home” page from the “Front page” drop down, and hit the “Save Changes” button.
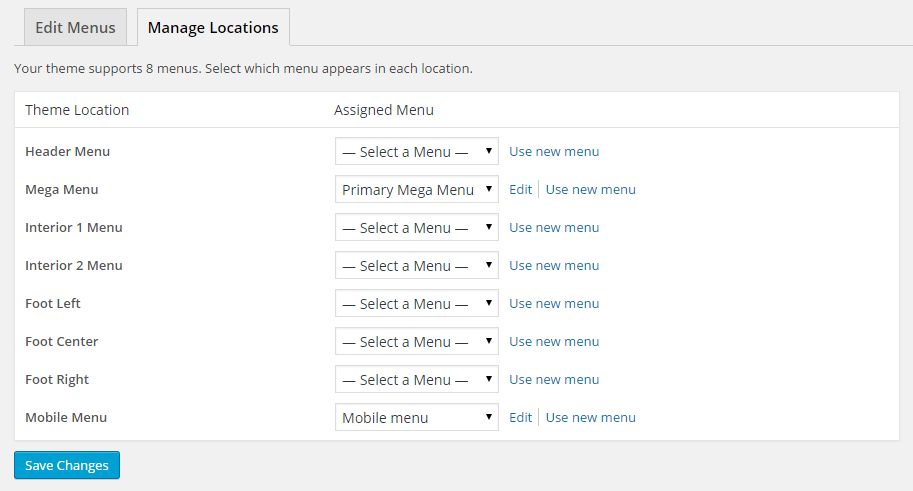
2. Navigate to Appearance –> Menus –> “Manage Locations” tab. Select “Primary Mega Menu” from the Mega Menu dropdown, select “Mobile Menu” from the Mobile Menu dropdown, and hit the “Save Changes” button.
3. Appearance -> Menus -> “Edit Menus” tab.
- Select the Mobile menu (Mobile Menu) from the dropdown and click “Select”.
- Delete the top two items, [Menu Segment] and [Divider].
- Add a Menu Segment from the Uber Advanced Items.
- Drag and drop it at the top of your menu.
- Hover over that menu item and select the Uber settings icon.
- Select the Primary Mega Menu from the dropdown of menus.
- Save Menu Item and hit the ESC button.
- Add a Horizontal Divider from the Uber Advanced Items.
- Drag and drop it under the Menu Segment.
- Hover over the Quicklinks menu item and select the Uber settings icon.
- Select Submenu from the left navigation, and click on Flyout Submenu.
- Save Menu Item and hit the ESC button.
- Then click the Save Menu button.
4. UberMenu settings.
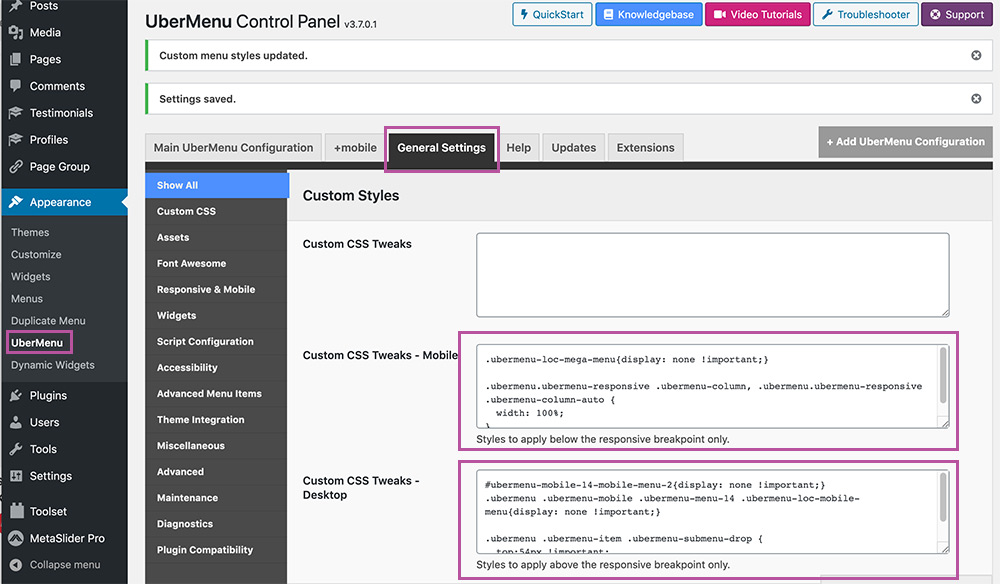
- Click on UberMenu under Appearance. Then select the General Settings tab.
- Paste this in the Custom CSS Tweaks – Mobile:
.ubermenu-loc-mega-menu{display: none !important;}.ubermenu.ubermenu-responsive .ubermenu-column, .ubermenu.ubermenu-responsive .ubermenu-column-auto {
width: 100%;
} - Paste this in the Custom CSS Tweaks – Desktop:
#ubermenu-mobile-14-mobile-menu-2{display: none !important;}
.ubermenu .ubermenu-mobile .ubermenu-menu-14 .ubermenu-loc-mobile-menu{display: none !important;}.ubermenu .ubermenu-item .ubermenu-submenu-drop {
top:54px !important;
}
4. Meta Slider Pro -> Theme Editor
- Click on the + tab at the top and rename the New Theme to Homepage.
- Under the Arrows section select Type 2 from the Built In Styles dropdown.
- Under the Navigation section select Bottom Center from the Position dropdown..
- Under the Navigation section change the Vertical Margin to 0.
- Save the theme.
Click on Meta Slider Pro
- Select the Homepage tab and under the Settings on the right select Homepage from the Theme dropdown.