Remote Access
UCS provides multiple ways to access your work from home. Below are the different options we provide..
WOU VPN |WOU VDI | Connecting to Network Drives | Zoom | Access Class rosters | Office 365 | Creative Cloud
WOU VPN
WOU VPN allows you to securely connect to WOU resources. Updated instructions are now found in Portal
WOU Virtual Desktop
With this option, your drives (H, I, K, etc.) will automatically be mapped.
Or, access WOU VDI by clicking on the icon in Portal ![]()
Log into WOU Virtual Desktop
Step 1:
Using the browser of your choice, navigate to https://vdi.wou.edu or follow theVirtual Desktop link in Portal
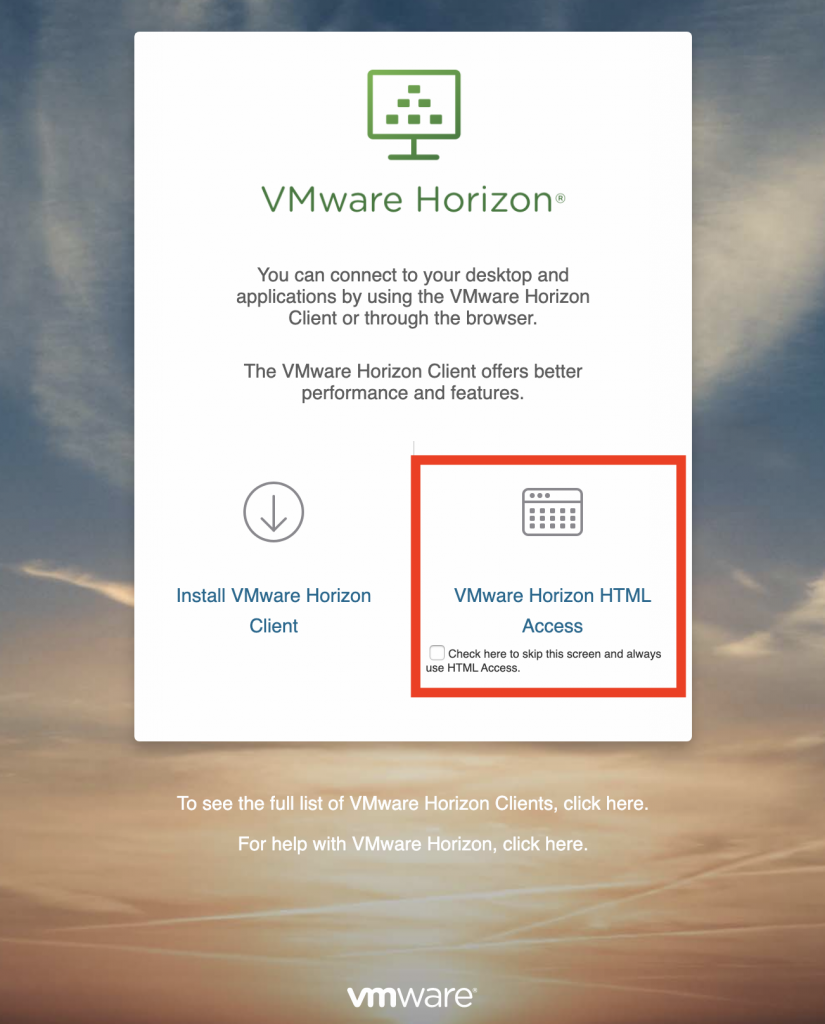
Step 2:
Click on the “VMware Horizon HTML Access” button
Note: if you check the box below the button, it will skip this screen next time you navigate toVirtual Desktop in your current browser.
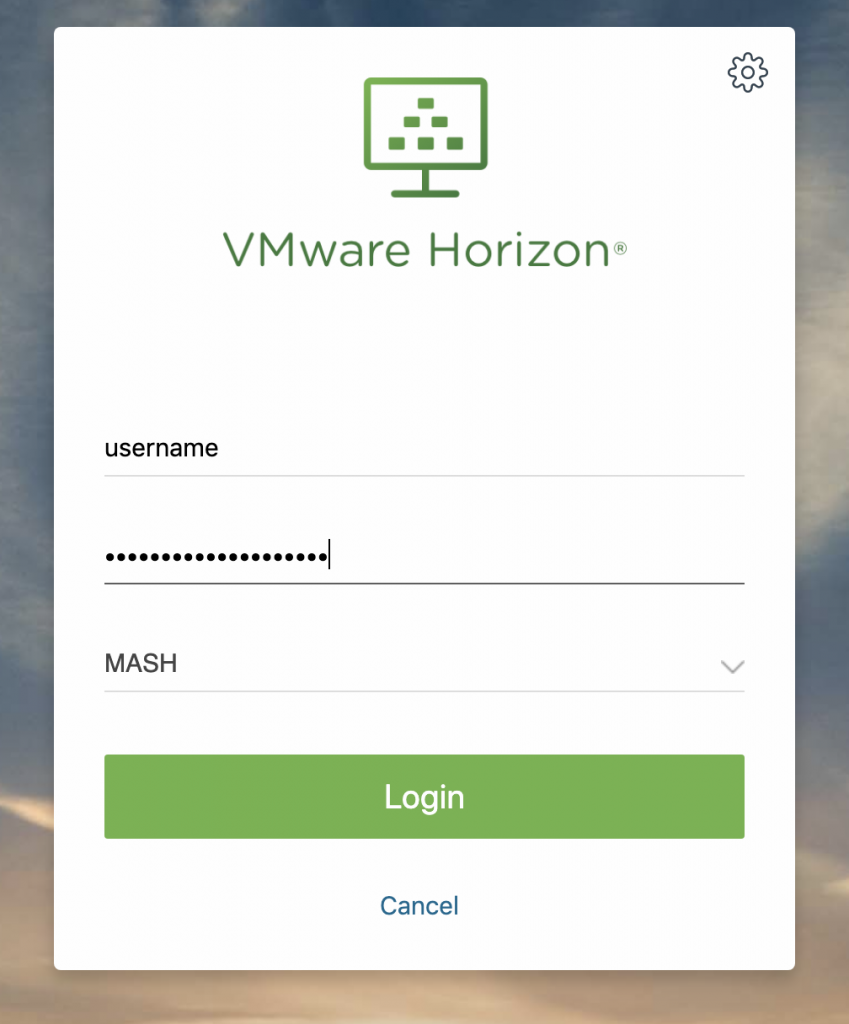
Step 3:
Enter your WOU credentials (username and password), then click “Login” and you’re good to go!
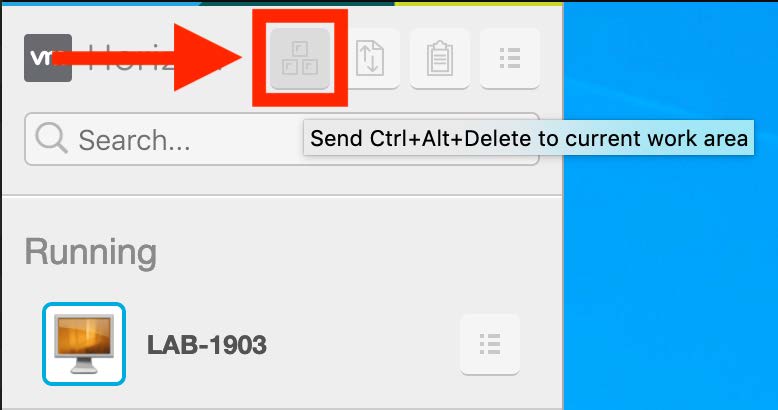
Send Ctrl+Alt+Delete to Virtual Desktop
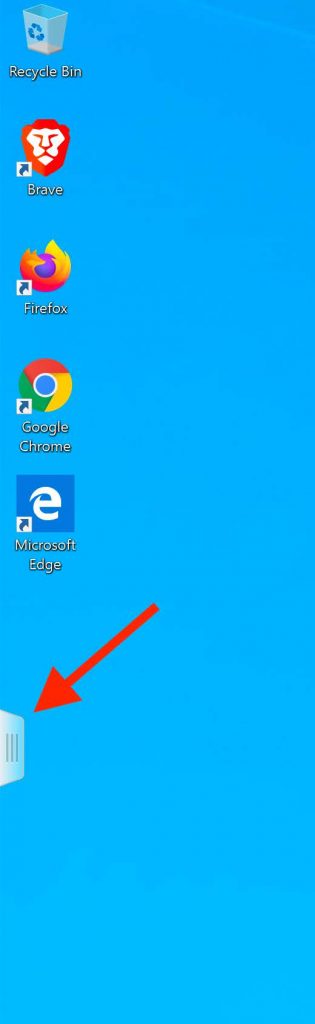
Step 1:
Find the small tab to the left of theVirtual Desktop screen and click on it. This will open a side screen full of options.
Step 2:
At the top of this side screen, click on the button with the three square symbols, as shown in the screenshot below. This will send a Ctrl+Alt+Delete to the Virtual Desktop machine.
Access it via app: download the Windows or Mac installer
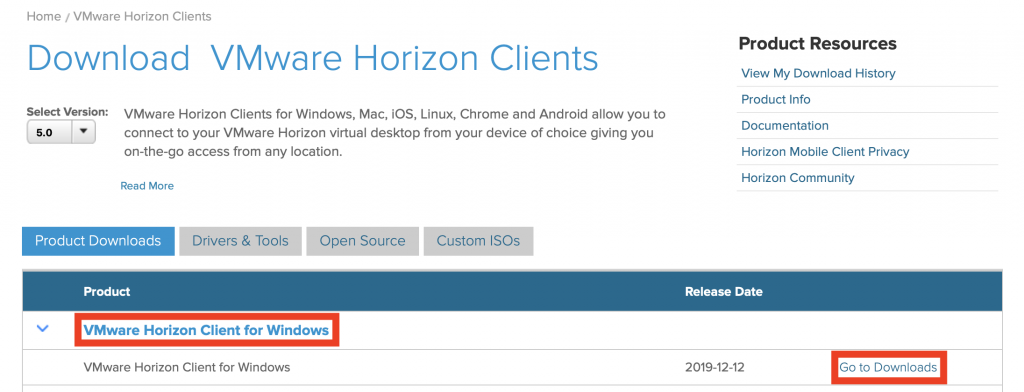
Virtual Desktop App Windows Install
Step 1:
Click on the “VMware Horizon Client for Windows” and then click “Go to Downloads”
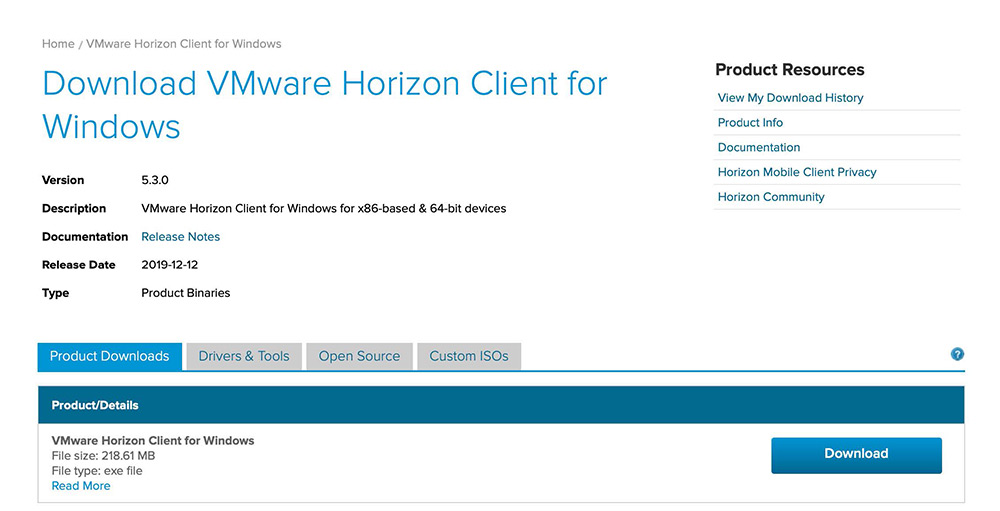
Step 2:
Click on the “Download” button in the new window
Step 3:
Find the installer (VMware-Horizon-Client) in the Downloads folder in File Explorer and double click on it

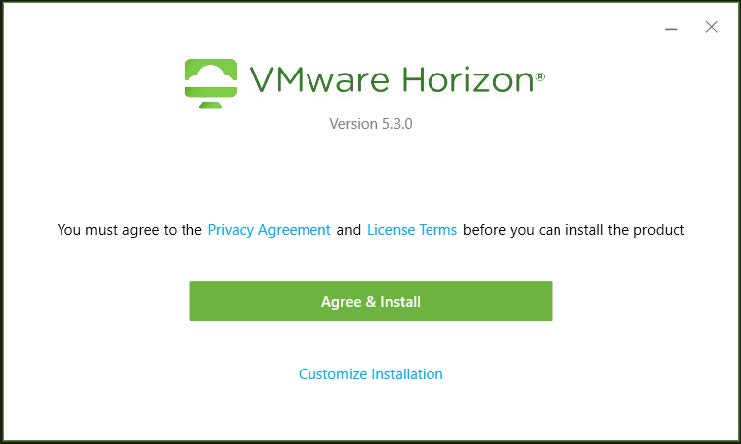
Step 4:
Click “Agree & Install.” This will begin the install process.
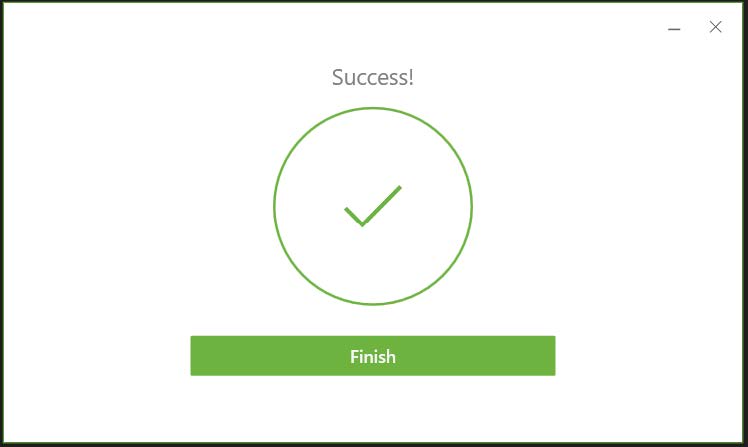
Step 5:
Once the install has been completed, click on “Finish”
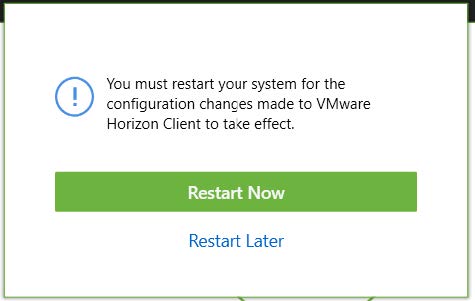
Step 6:
You’ll have to restart your computer for the installation to complete. Click on “Restart Now”
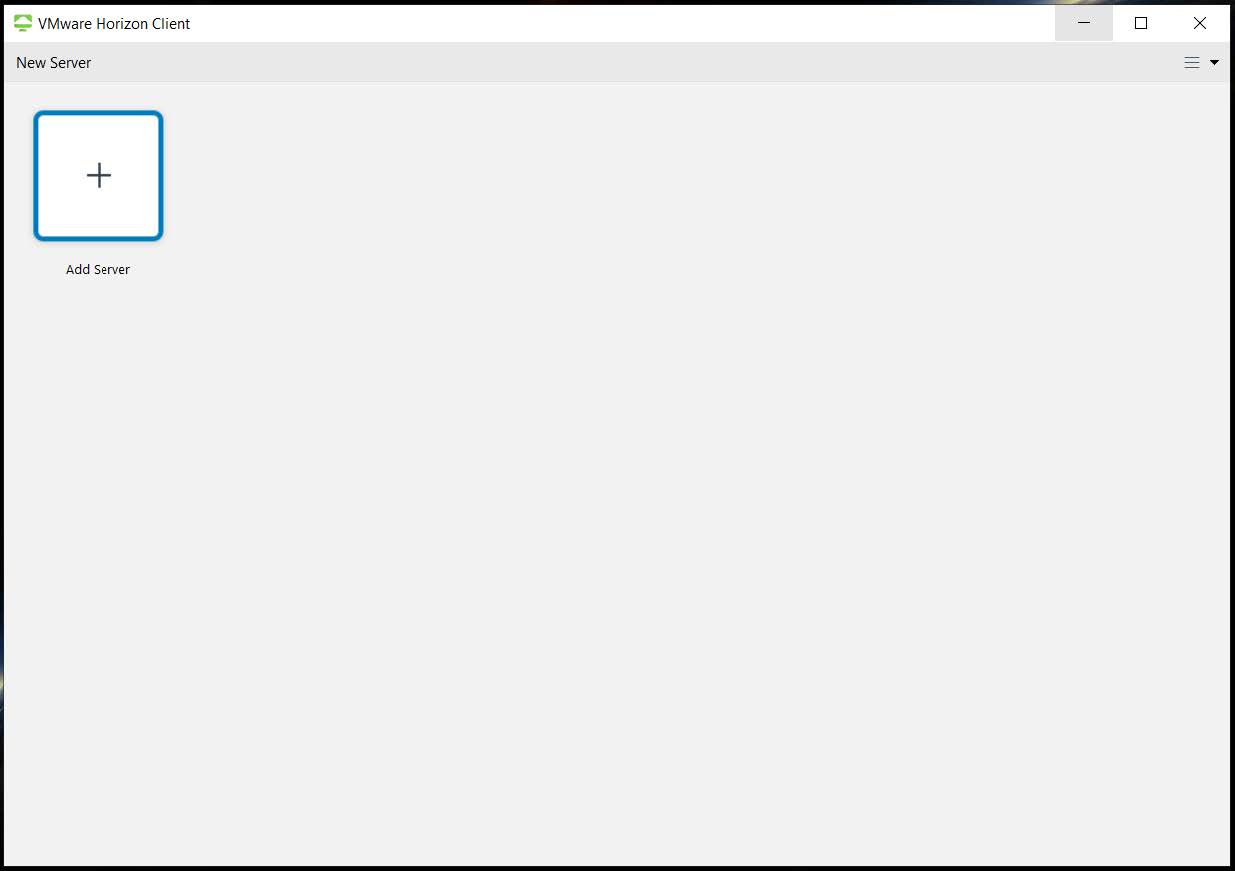
Step 7:
Once your computer restarts, log in and open the Horizon Client. Once inside the app, click on “Add Server”
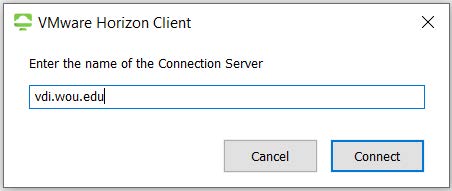
Step 8:
In the popup screen that appears, enter “vdi.wou.edu” then click the “Connect” button
Step 9:
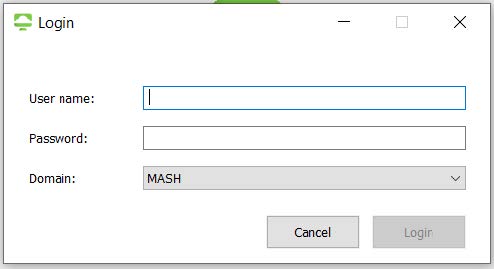
After you click the “Connect” button, a login screen will appear. Enter your WOU username and password, and you should be all set!
Virtual Desktop App Mac Install
Step 1:
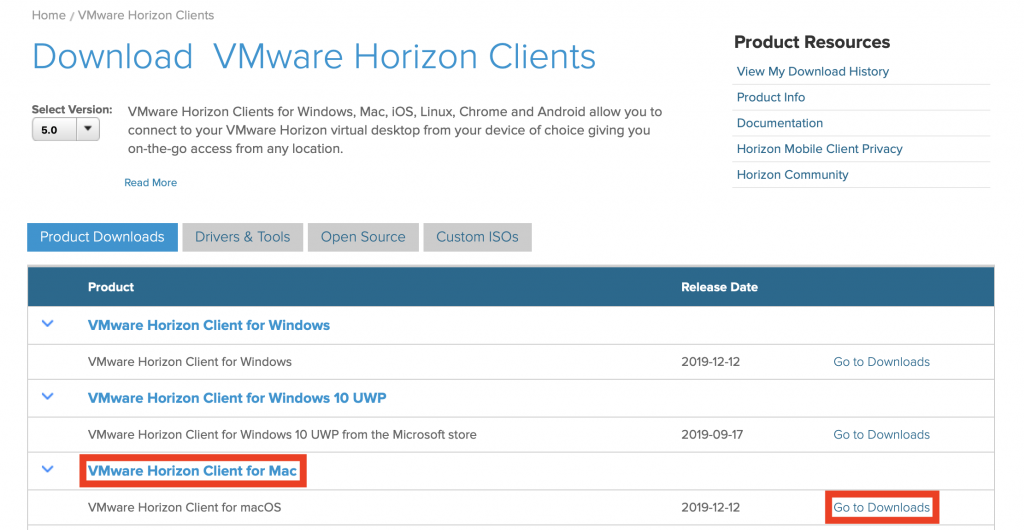
Click on the “VMware Horizon Client for Mac” and then click “Go to Downloads”
Step 2:
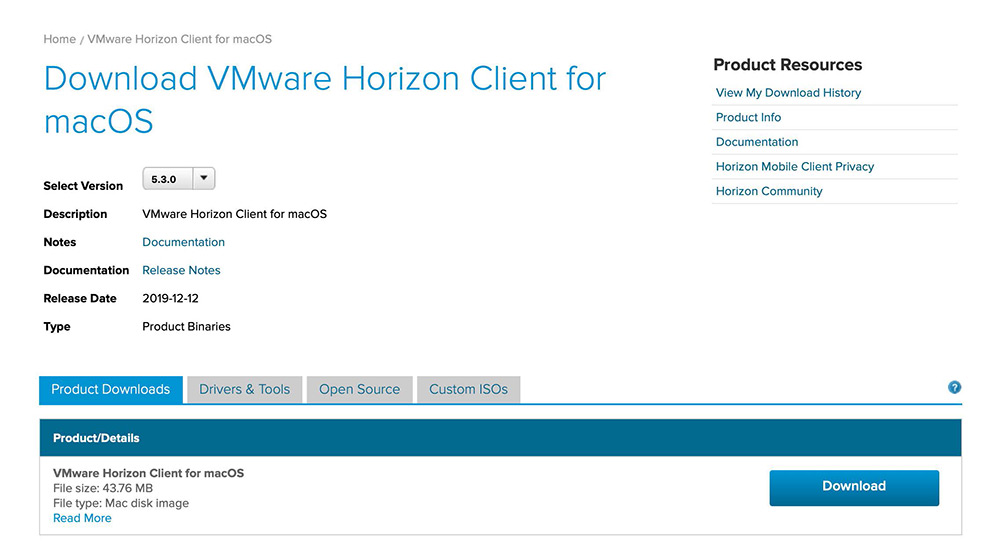
Click on the “Download” button in the new window
Step 3:
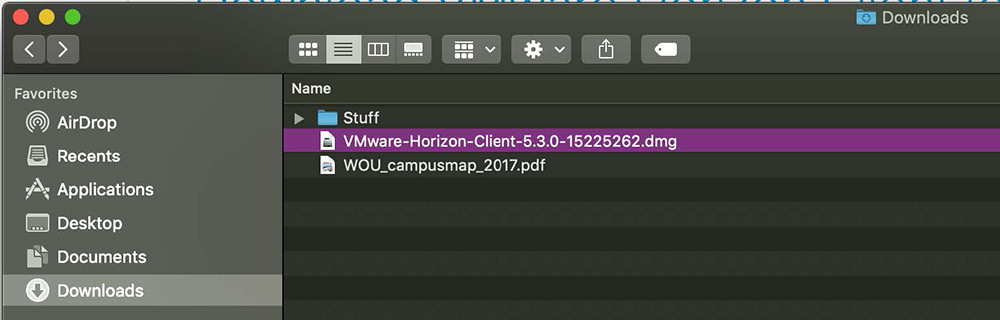
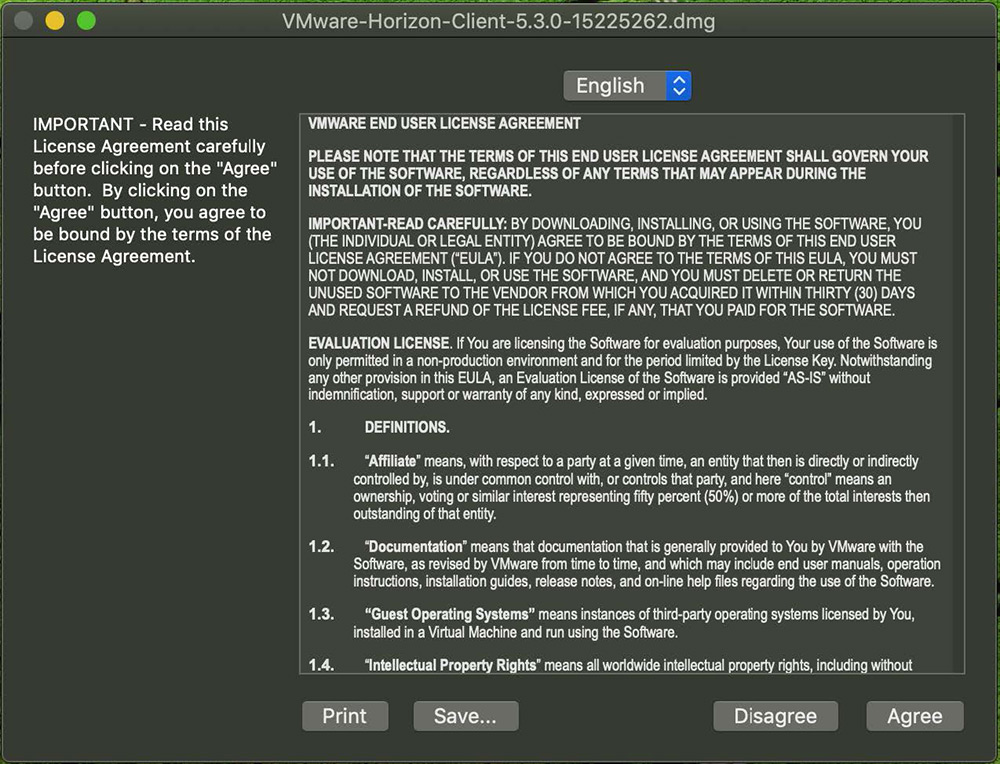
Find the installer (VMware-Horizon-Client) in the Downloads folder in Finder and double click on it

Step 4:
Accept the license agreement by clicking “Agree”
Step 5:
Drag the VMware Horizon Client icon in the window into the Applications folder icon

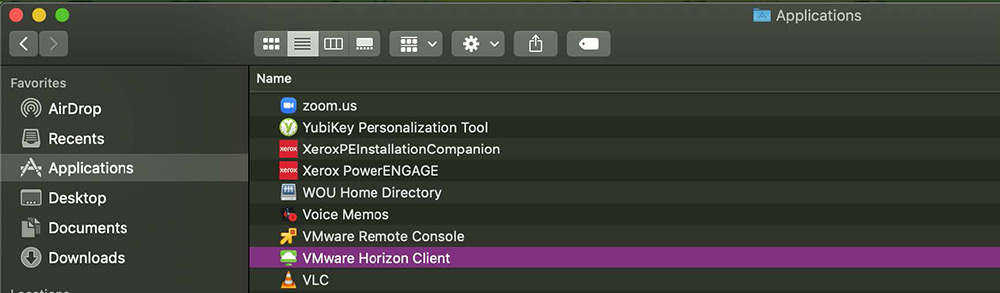
Step 6:
Find the “VMware Horizon Client” application in your Applications folder in Finder, then double click on it
Step 7:
A security window will pop up asking if you want to open the app. Click “Open”

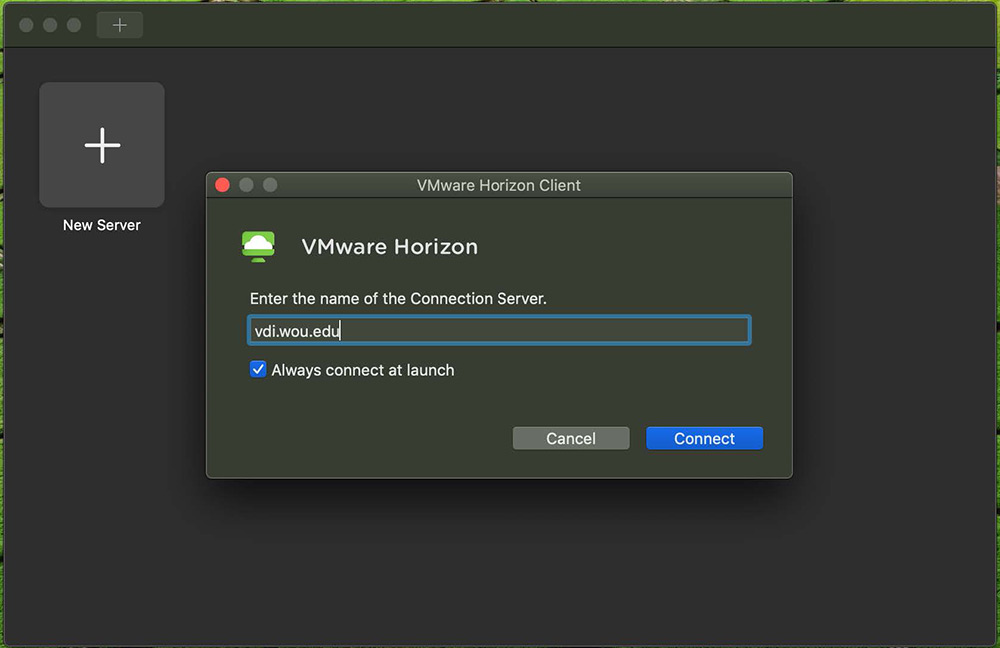
Step 8:
The app will open in a new window asking you to enter the name of a Connection Server. Enter “vdi.wou.edu” into the field, then click “Connect”
Step 9:
After you click the “Connect” button, a login screen will appear. Enter your WOU username and password, and you should be all set!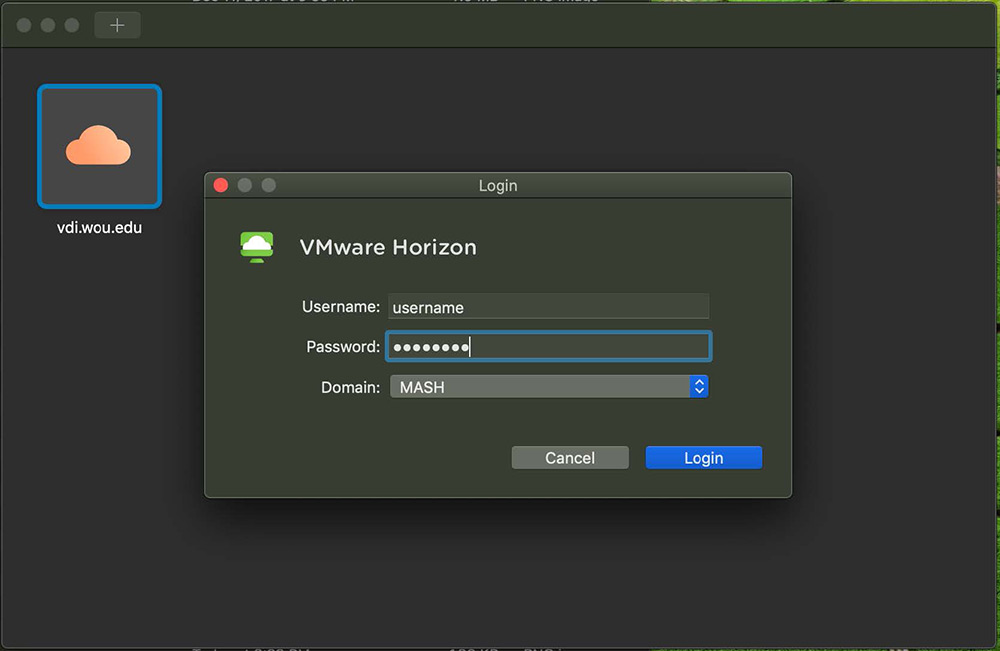
Connecting to Network Drives
If you’d like to connect to your departmental or personal drives (H, I, K, P, etc.) when using the WOU VPN, follow the instructions below
When using the VPN to connect to network drives please use the following when asked to log in mash\username
Department Network Drive Examples
H Drive
Windows
\\home[a-z].wou.edu\home[a-z]\username\username
Example
\\homep.wou.edu\homep\potterh\potterh
Mac
smb://home[a-z].wou.edu/home[a-z]/username/username
Example
smb://homep.wou.edu/homep/potterh/potterh
I Drive
Note: If you have questions about your department name, please contact sysadmin@wou.edu
Windows
\\groupa.wou.edu\groupa\departmentname (departments A-I)
\\groupj.wou.edu\groupj\departmentname (departments J-Q)
\\groupr.wou.edu\groupr\departmentname (departments R-Z)
Examples
\\groupa.wou.edu\groupa\creative_arts
\\groupj.wou.edu\groupj\Library_Media_Services
\\groupr.wou.edu\groupr\sep
Mac
smb://groupa.wou.edu/groupa/departmentname (departments A-I)
smb://groupj.wou.edu/groupj/departmentname (departments J-Q)
smb://groupr.wou.edu/groupr/departmentname (departments R-Z)
Examples
smb://groupa.wou.edu/groupa/admissions
smb://groupj.wou.edu/groupj/mssp
smb://groupr.wou.edu/groupr/upward_bound
J Drive
Windows
\\share.wou.edu\share
Mac
smb://share.wou.edu/share/
K Drive
Windows
\\class.wou.edu\class
Mac
smb://class.wou.edu/class
P Drive (public_html)
Windows
\\home[a-z].wou.edu\home[a-z]\username\public_html
Example
\\homep.wou.edu\homep\potterh\public_html
Mac
smb://home[a-z].wou.edu/home[a-z]/username/public_html
Example
smb://homep.wou.edu/homep/potterh/public_html
Connecting to Network Drives from Windows
Step 1
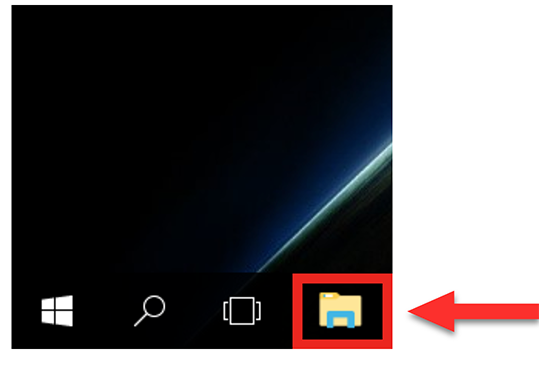
Click on the folder icon near the bottom left of the screen. This will open “File Explorer”
Step 2
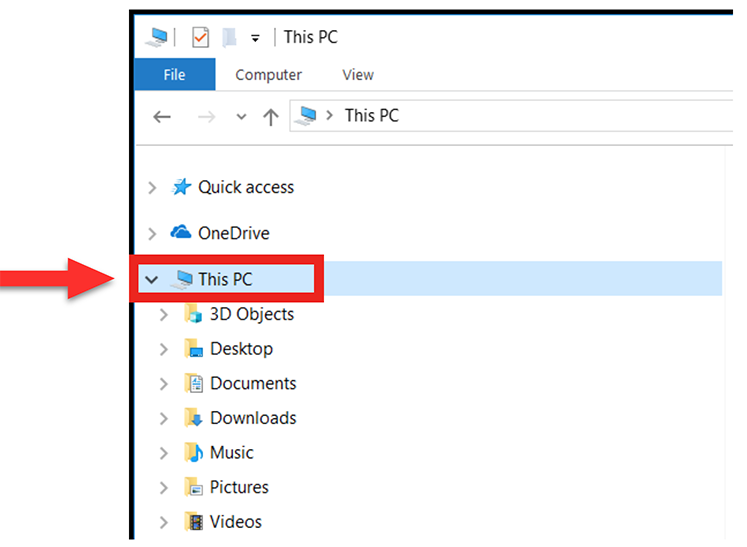
Right click the “This PC” icon on the left hand side of the menu. A submenu will appear.
Step 3
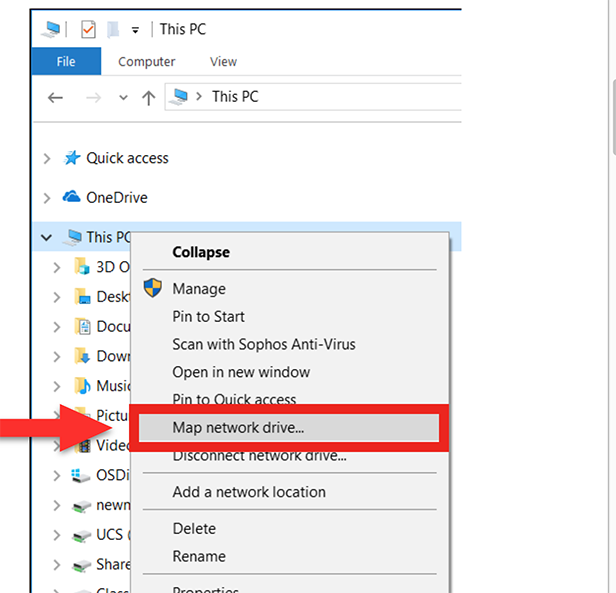
Click on the “Map network drive” option.
Step 4
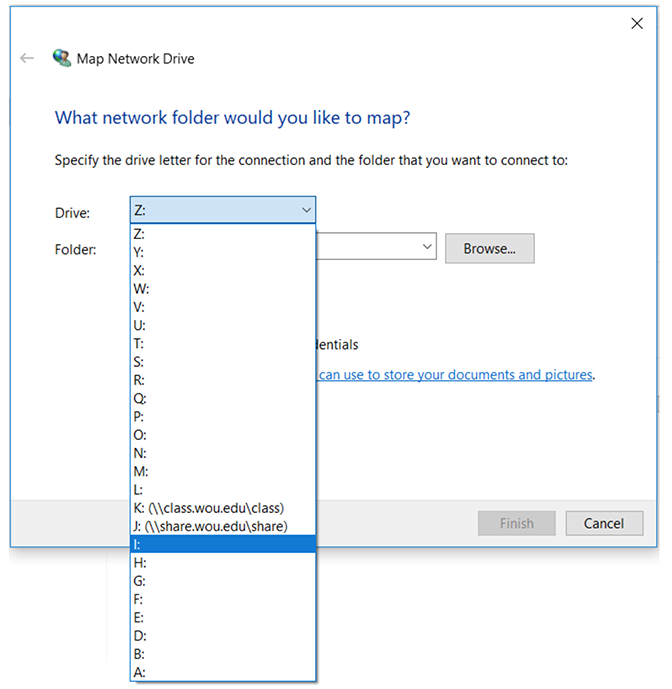
In the new window, select the correct drive letter that you want to use. Free drive letters will have empty lines next to the colon; these are the ones you want to choose.
Step 5
Add your path as below to the “Folder” text box. Make sure “Reconnect at sign-in” is checked.
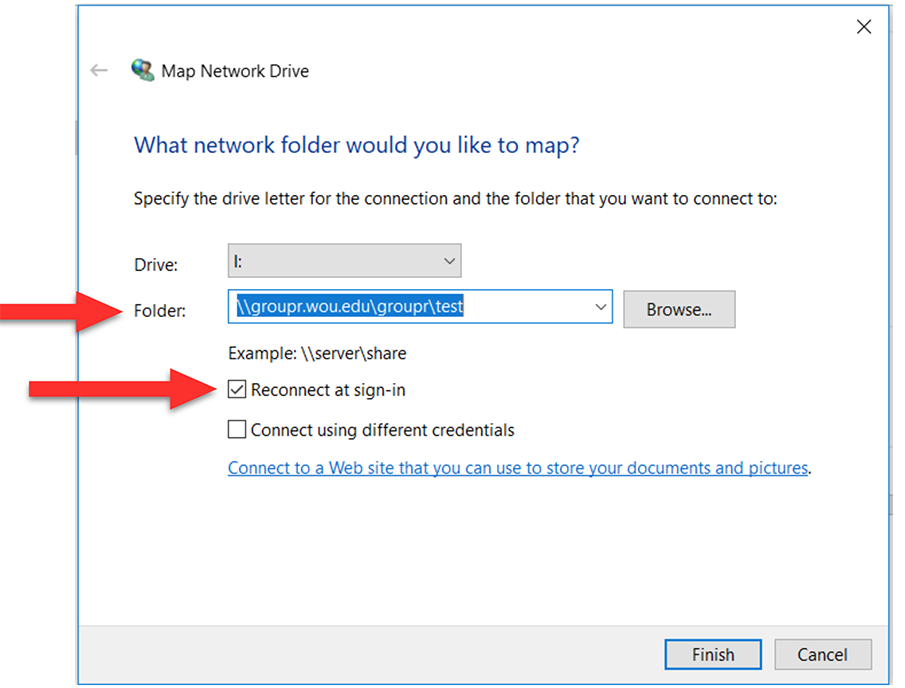
Step 6
Click “Finish”
There will be a popup window that asks for your WOU credentials.
BE SURE to enter your username like below, or you’ll get errors:
MASH\username

Connecting to Network Drives from Mac
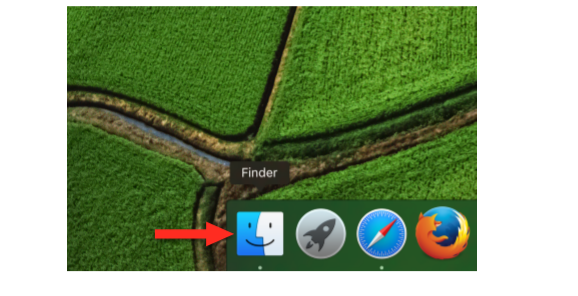
Step 1:
Open Finder (in the Dock at the bottom of your screen)
 \\
\\
 \\
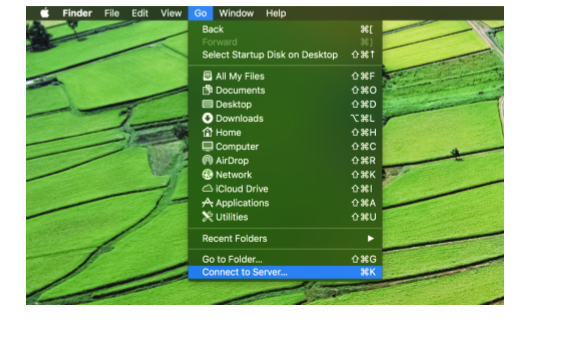
\\Step 2:
Once Finder is open, go to the tool bar at the top of your Mac and click “Go.” In the menu that pops up, click “Connect to Server.” (Alternatively, once Finder was open you could just use the keys Command + K). The window Connect to Server will pop up on your screen.
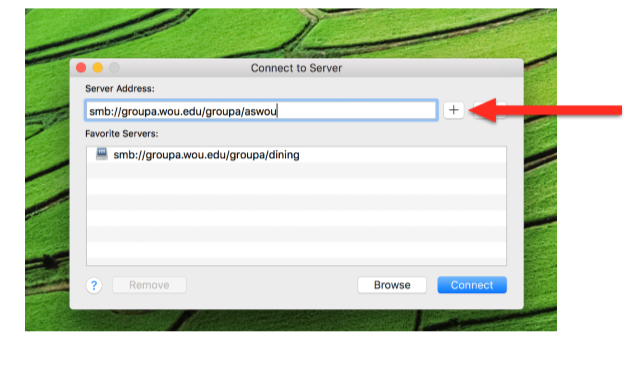
Step 3:
The Connect to Server window allows you to add the drives you’d like to connect to. In the “Server Address” text area, type in the following:
smb://[name of drive].wou.edu/[name of drive]/[name of department folder]
example: smb://groupa.wou.edu/groupa/aswou
Then, click the plus (+) button on the end of that text area so that the server address will be added to the “Favorite Servers” area for easy access.
Finally, click the “Connect” button and you’ve got access to the drive.
Zoom
Security Best Practices
Zoom is a video conferencing tool for virtual learning, remote meetings, and online collaboration. This document will help you with security features designed to control online classrooms, prevent disruption, and help educators effectively teach remotely. Here are some best practices for securing your virtual classroom using Zoom.
Secure your virtual classroom or meeting room
Do not make classrooms or meeting rooms public. It is very important that you tell your students not to post Zoom room information, especially passwords, on social media. Provide the link directly to specific people. This means you will want to email or text your remote participants directly. You could also post the meeting information in Moodle, in a location that only your students have access to.
In Zoom, there are two options to make a meeting private: require a meeting password or use the waiting room feature and control the admittance of guests. Once your meeting is started, you can lock the Zoom session so that no one else can join. It is kind of like closing the classroom door a few minutes after the class starts. Give your students a few minutes to connect to the room and then click Participants at the bottom of your Zoom window. In the Participants pop-up, click the button that says Lock Meeting.
Enable the Waiting Room
The Waiting Room feature is one of the best ways to protect your Zoom virtual classroom and keep out those who aren’t supposed to be there.
When enabled, you have two options for who hits the Waiting Room before entering a class:
- All Participants will send everyone to the virtual waiting area, where you can admit them individually or all at once.
- Guest Participants Only allows known students to skip the Waiting Room and join but sends anyone not signed in/part of your school into the virtual waiting area.
The virtual Waiting Room can be enabled for every class (in your settings) or for individual classes at the scheduling level (see below). Starting on March 31, 2020 this feature was turned on by default.
Control screen sharing
Manage screen sharing options. In Zoom, change screen sharing to “Host Only” (As of March 26, 2020, this is enabled by default). This will give instructors more control over what students are seeing and prevent them from sharing random content. However, if students need to share their work with the group, you can allow screen sharing in the host controls. Click the arrow next to Share Screen and then Advanced Sharing Options. Under “Who can share?” choose “Only Host” and close the window. You can also change the default sharing option to All Participants in your Zoom settings.
Lock down the chat
Teachers can restrict the in-class chat so students cannot privately message other students. We’d recommend controlling chat access in your in-meeting toolbar controls (rather than disabling it altogether) so students can still interact with the teacher as needed.
Remove a participant
If someone who’s not meant to be there somehow manages to join your virtual classroom, you can easily remove them from the Participants menu. Hover over their name and the Remove option (among other options) will appear. Click to remove them from your virtual classroom, and they won’t be allowed back in.
Security options when scheduling a class
Zoom gives you some other protection options when scheduling a class and before you ever have to change anything in front of your students. Here are a few of the most applicable:
- Require registration: This shows you every email address of everyone who signed up to join your class and can help you evaluate who’s attending.
- Use a random meeting ID: It’s best practice to generate a random meeting ID for your class, so it can’t be shared multiple times. This is the better alternative to using your Personal Meeting ID, which is not advised because it’s basically an ongoing meeting that’s always running.
- Password-protect the classroom: Create a password and share with your students via school email so only those intended to join can access a virtual classroom.
- Allow only authenticated users to join: Checking this box means only members of your school who are signed into their Zoom account can access this particular class.
- Disable join before host: Students cannot join class before the teacher joins and will see a pop-up that says, “The meeting is waiting for the host to join.“
- Manage annotation: Teachers should disable participant annotation in the screen sharing controls to prevent students from annotating on a shared screen and disrupting class.
Additionally, teachers have a couple in-meeting options to control your virtual classroom:
- Disable video: Turn off a student’s video to block distracting content or inappropriate gestures while class is in session.
- Mute students: Mute/unmute individual students or all of them at once. Mute Upon Entry (in your settings) is also available to keep the clamor at bay when everyone files in.
- Attendee on-hold: An alternative to removing a user, you can momentarily disable their audio/video connections. Click on the attendee’s video thumbnail and select Start Attendee On-Hold to activate.
Keep software updated
It is important that you update your Zoom software whenever a new version is available. In January and again in April 2020, Zoom updated their software. In their security updates, Zoom added passwords by default for meetings and disabled the ability to randomly scan for meetings to join. As new vulnerabilities are discovered, these are patched by updates to the software.
You can also view this video from Zoom on securing your virtual classroom:
Educational Webinars sessions
Zoom offers several Zoom Education Webinar sessions each week with a live host to answer your questions, and focus on the following topics:
- How to download Zoom applications and join a Zoom meeting
- How to schedule a meeting and send out invitations
- In-meeting controls and differentiation tools (including the waiting room, share screen, breakout rooms)
Short videos to help teachers get up and running with Zoom
We also have the following short videos to help teachers get up and running with Zoom:
- Zoom 101: Breakout Rooms
- Zoom 101: Polling (In-meeting)
- Zoom 101: Manage Participants (In-depth)
- How to use Breakout Rooms
- Screen Share & Annotation for EDU
- How to use Waiting Rooms to Manage Office Hours & Drop-In Visitor Times
- Zoom Meetings for Education
- Sharing Your Screen
- Manage Participants
- How to Zoom Youtube Channel
Upgrades
Step 1
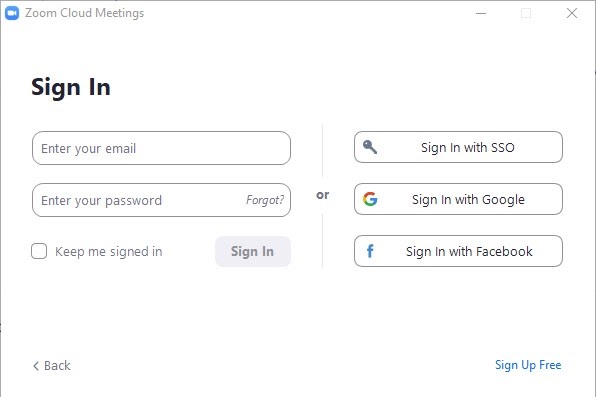
Sign into the Zoom desktop client
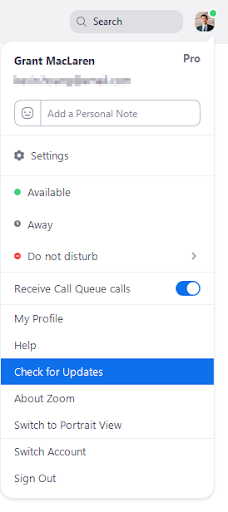
Step 2
Click your profile picture then click Check for Updates
Updating to Latest Zoom version
From your iOS device: Go to the App store, tap on account, and update Zoom Cloud meetings.
From your Android device: Go to the Google Play store, tap on Zoom Cloud meetings and update.
Additional information – Where do I download the latest version?
New and enhanced features – for Version 5.0
-
- AES 256-bit GCM encryption – Windows, macOS, Linux, iOS, Android
Zoom is upgrading to the AES 256-bit GCM encryption standard, which offers increased protection of your meeting data in transit and resistance against tampering. This provides confidentiality and integrity assurances on your Zoom Meeting, Zoom Video Webinar, and Zoom Phone data. This version of the Zoom client will support GCM encryption when it is automatically enabled for all accounts on May 30. - Meeting features
- Report a user during a meeting – Windows, macOS, Linux, iOS, Android
The meeting host can now report a user during a meeting by clicking on the Security icon, then Report. This feature will generate a report which will be sent to the Zoom Trust and Safety team to evaluate any misuse of the platform and block a user if necessary. - Additional feedback options at the end of a meeting – Windows, macOS
Users will now have the ability to provide additional feedback if the setting Post meeting feedback survey is enabled. This feedback can also be viewed in Dashboard and can be downloaded as a spreadsheet. This setting was previously named Display end of meeting feedback survey. - Enhancements to meeting end/leave flow – Windows, macOS, Linux, iOS, Android
The host will now be required to assign a new host when leaving the meeting. Additionally, the pop-up message asking if the host would like to leave or end the meeting will now be displayed by the Leave button. - Show the connected data center – Windows, macOS, Linux, iOS, Android
Users can see which data center they are connected to by clicking on by clicking on the info icon at the top left of the client window. - Select data center regions when scheduling a meeting – Windows, macOS, Linux, iOS, Android
Users can now select which data center regions they would like their in meeting traffic to use when scheduling a meeting.
- Report a user during a meeting – Windows, macOS, Linux, iOS, Android
- Chat features
- Indication of an external user – Windows, macOS, Linux, iOS, Android
Users will have the label “External” next to their name if they are not part of your Zoom account. This label will be displayed in one on one messages. This label will also be displayed in the user’s profile details when you hover over their profile picture and in the channel members list.
- Indication of an external user – Windows, macOS, Linux, iOS, Android
- Phone features
- Enhanced encryption – Windows, macOS, Linux, iOS, Android
Zoom supports secure voice calls across all supported SIP devices, desktop, and mobile clients. Zoom Phone supports standards-based encryption using SIP over TLS 1.2 Advanced Encryption Standard (AES) 256-bit algorithm for calls and during phone provisioning sessions. In addition, call media is transported and protected by SRTP with AES-256 bit algorithm for Zoom desktop and mobile clients, and with AES-128 bit algorithm for devices.
- Enhanced encryption – Windows, macOS, Linux, iOS, Android
- AES 256-bit GCM encryption – Windows, macOS, Linux, iOS, Android
Additional information on Zoom 5.0 – New updates for April 27, 2020 – Version 5.0
How to access class rosters
Access class rosters through Wolf Web tutorial
Step 1
From the Portal click on the Wolf Web icon ![]()
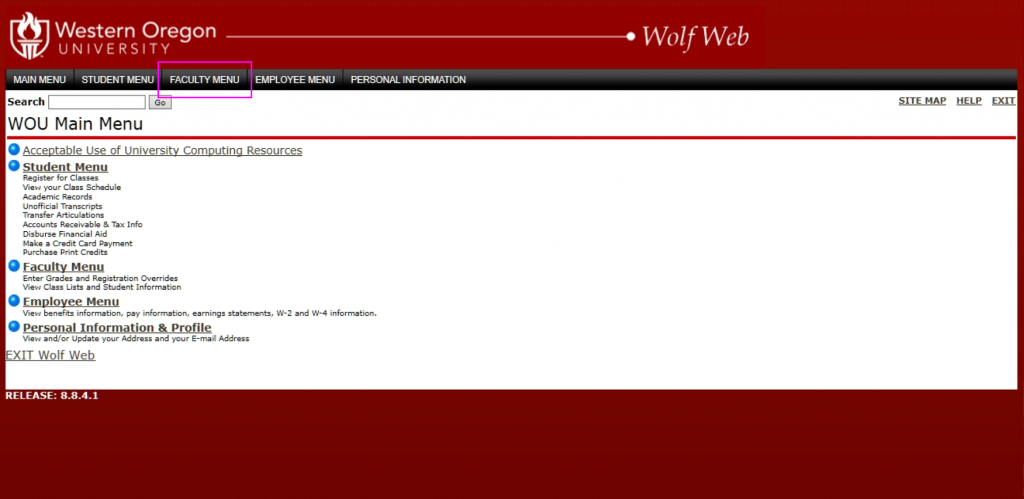
Step 2
Click on the Faculty Menu
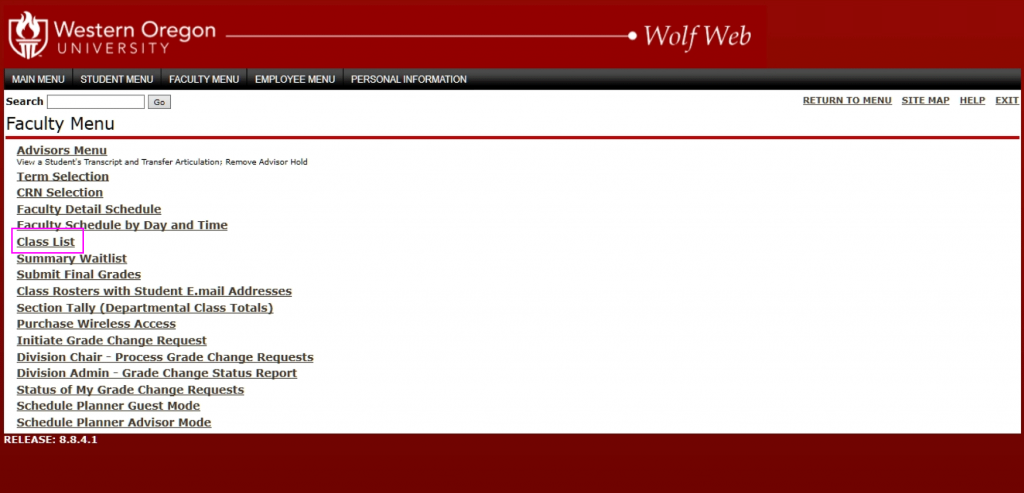
Step 3
Click on Class List
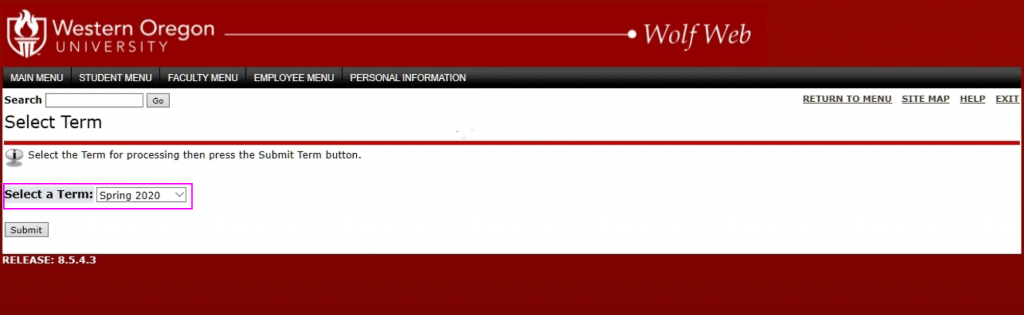
Step 4
Select a term code
Step 5
Select a course
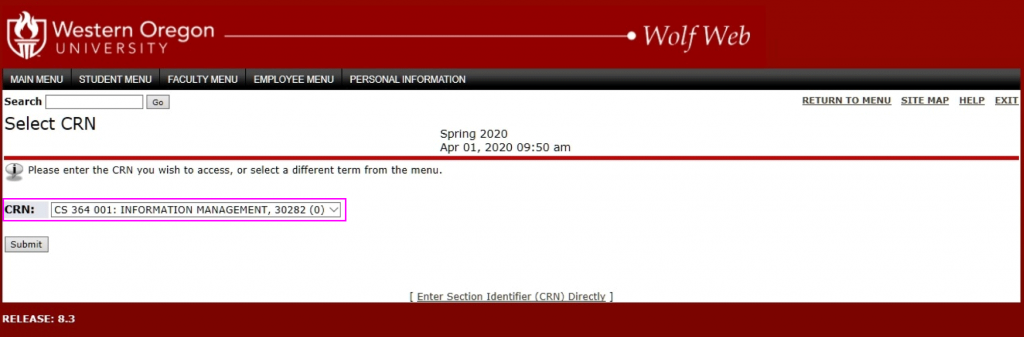
Wolf Web will display the students registered for this course and their email addresses. If you want all of the student’s email addresses, click on the “Display Email List” button 
Faculty can also access a class list that can be copied to Excel or to an email program by going to “Class Rosters with E.mail addresses” link under the Faculty Menu.
Office 365
Access the Microsoft Office Suite (Word, Excel, etc.) from anywhere at https://www.office.com/
Log into Office 365
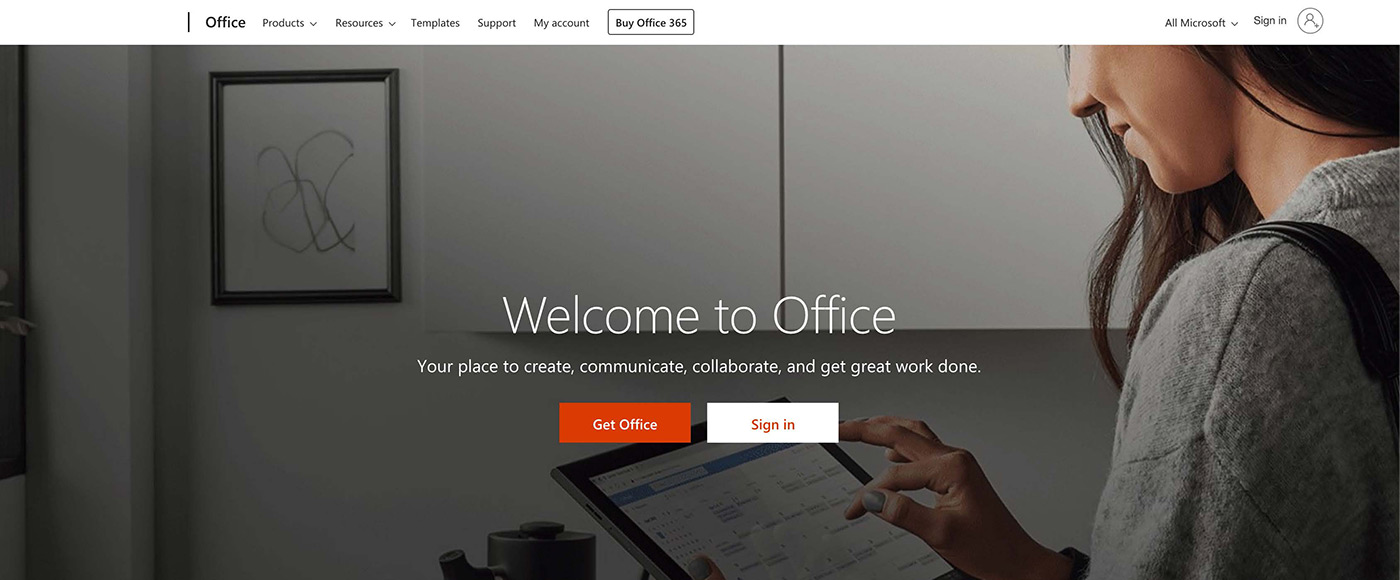
https://www.office.com/
At the website, click “Sign in”
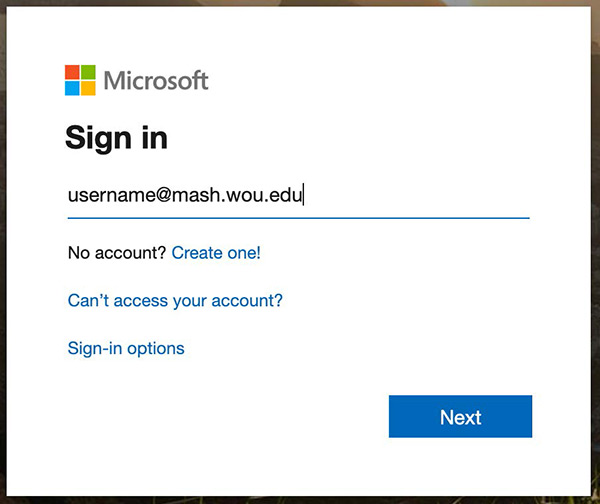
Log in with your WOU username with “@mash.wou.edu” appended and at the next step, your WOU password
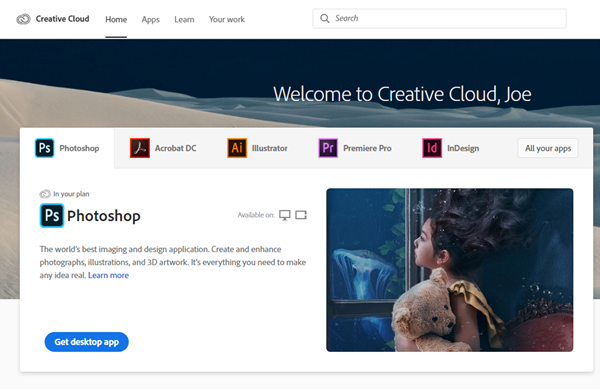
Temporary Access to Creative Cloud desktop Apps for Education customers
Adobe has provided temporary at-home access, through July 6th, 2020, for impacted students and faculty, so that they can continue their work remotely. Please follow the instructions below to enable access to Creative Cloud Desktop Apps on your personal device.
Creative Cloud desktop app setup
Step 1
Visit https://creativecloud.adobe.
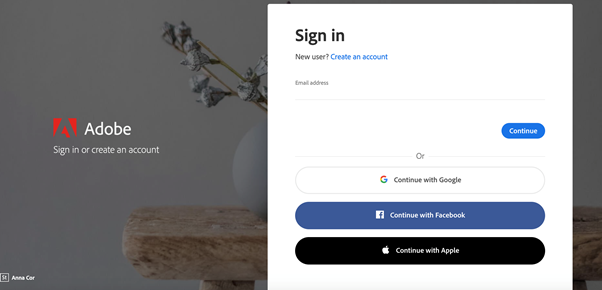
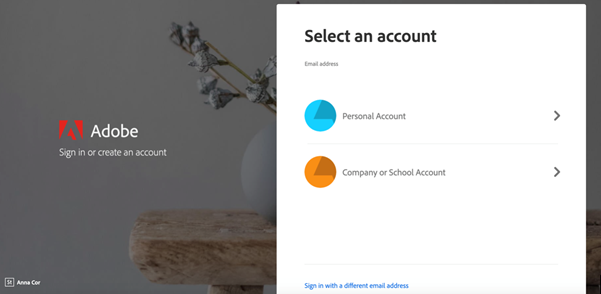
Step 2
If prompted, select Company or School Account and it should take you to a portal sign on screen where you will provide your credentials in the WOU login screen.
Step 3
From the Creative Cloud website, browse for and download your desired app. Click Apps on the top of the page to view all apps.