Edit the Image Slideshow
How to Edit the Image Slideshow
When you first get your site set up by UCS, your home page will have a slideshow. This tutorial will cover editing this slideshow with images that are more personalized to your site.
Basic Editting
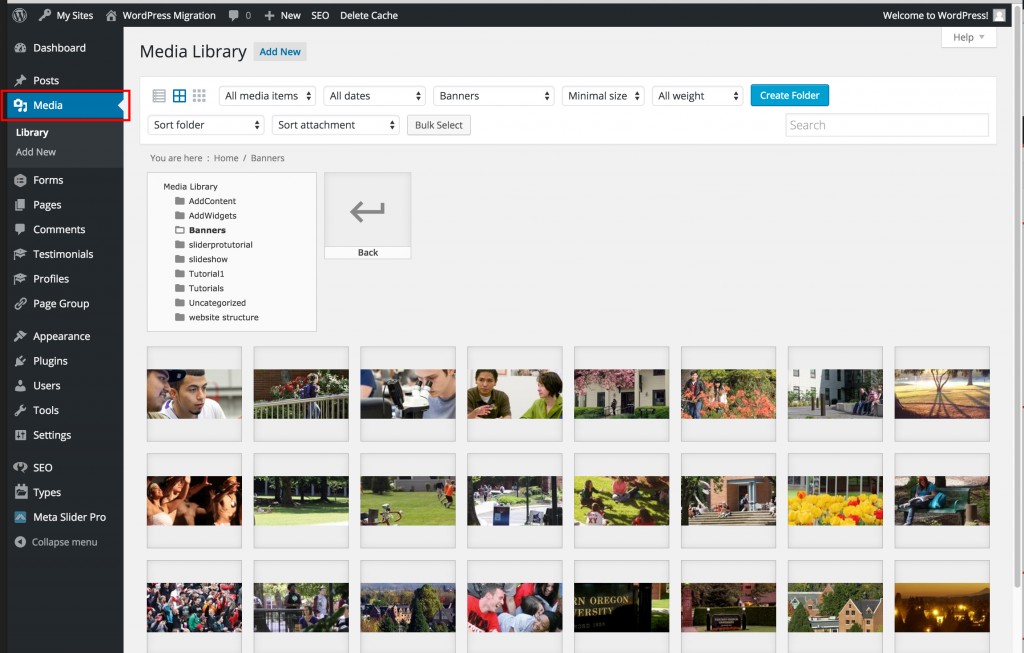
- You will need to add your images to the Media section and make sure they are at least 1400px wide by 320px high. If you don’t keep this ratio then it will auto crop your images. Your images will appear pixelated/blurry if you do not have them at least that size. Tutorial on using WordPress to crop images.

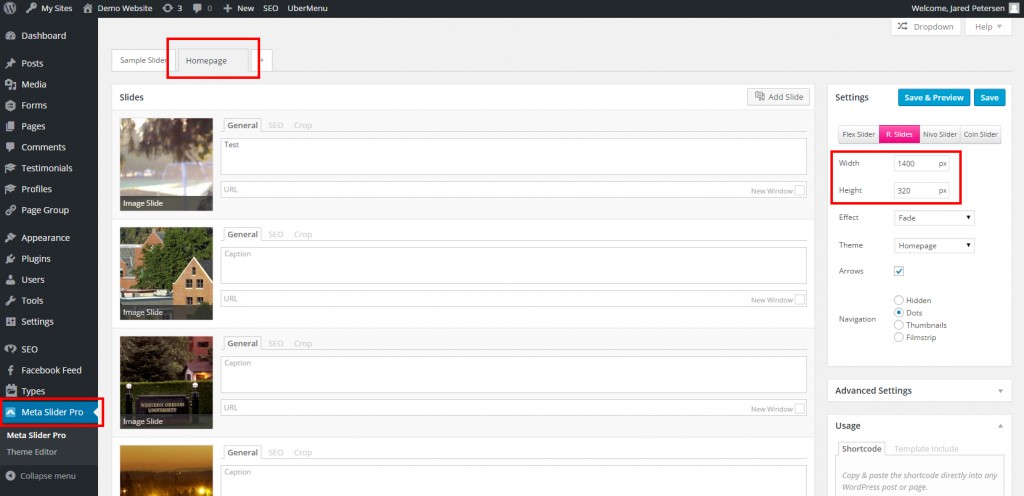
- Navigate to Meta Slider Pro –> Meta Slider Pro and make sure the Homepage tab is selected.

- Delete all of the photos that you don’t want in your slideshow by hovering over the image and clicking the red trashcan icon.

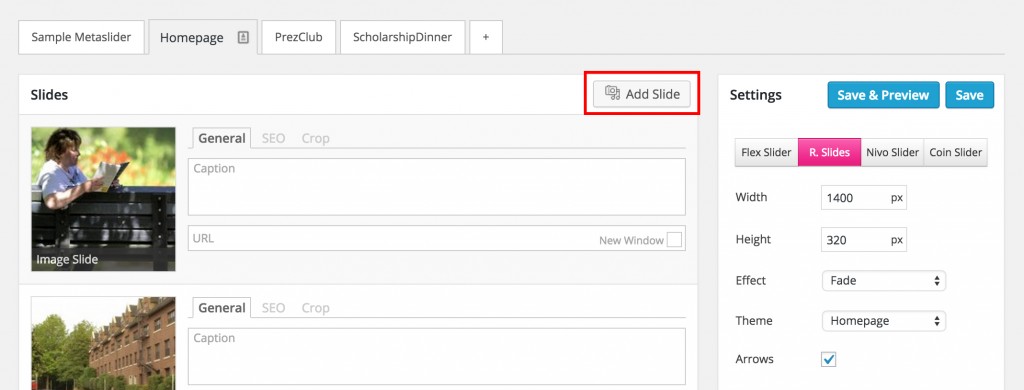
- Add all of the slides that you would like by clicking the Add Slide button.

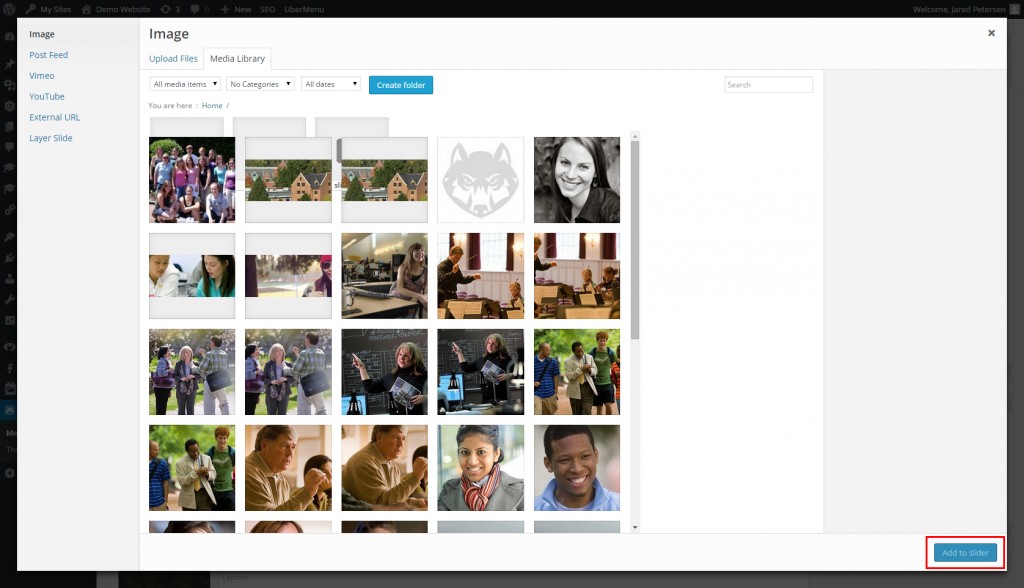
- Select the image you would like to add, and click the Add to Slider button. The image will appear at the bottom of your slideshow.

- Add captions to images by simply typing text into the caption text box.
- Be sure to save your changes by clicking the Save button.
Customize the Slideshow Appearance
There are a variety of customization combinations that you can select from on the slideshow, and your best bet is to just play with them. Here’s a few attractive options:
Default

Slider: R. Slides
Navigation: Dots
Captions

Slider: Nivo Slider
Navigation: Hidden
Thumbnail Images, No Captions

Slider: Nivo Slider
Navigation: Thumbnails
Special Instructions: Remove all captions from images if you you use this setup


