Mount Hood

Sustainable decor for Halloween

Repurposing crafts for horrific handmade decor

Sarah Austin | Lifestyle Editor

Seasonal decorating can be expensive or create a lot of unnecessary waste. Try these ideas that repurpose items lying around the house for a more affordable and sustainable option.

  • Artificial flowers can easily go from chic to eerie. Paint or spray paint with any color. Once dry, glue on a googly eye or draw an eyeball in the center.
  • A milk jug can be turned into a jack-o’-lantern. Wash out the jug and let it dry first. Decorate the jug in any number of ways; draw a face on the front, tape on construction paper or paint the entire jug. After the face is made, light up the pumpkin by filling it with glow sticks, string lights or battery powered candles. Add leaves to the spout to complete the pumpkin. Make multiple for variation.
  • Using newspaper or old homework, make a fake body or scarecrow. Do so by stuffing some clothing with crumpled pieces of paper. Place outside the door, in the yard or somewhere in the house for a ghoulish addition to your Halloween decor.
  • Yarn or thread can be made into spider webs. Hang up a few tacks wherever is convenient, then weave under and around the yarn in any pattern for a “threadful” look.
  • For an apothecary touch, find some mason jars and fill them with spooky items. Use plastic or candy eyeballs, water and food coloring to give a potion look, branches or crushed leaves and so much more for a chilling counter.
  • Repurpose pool noodles into a faux chain. Take one noodle, stand it straight up and down and cut it vertically in half an inch to one inch wide sections. Repeat all the way down. After all have been cut, make one horizontal cut per chain link. Connect each individual piece to another. Paint black or gray for full effect. 

Properly dispose of all items, keep decorations around for a creepy theme or store for next year after use for a completely green experience. 

Contact the author at lifestyleeditor@thewesternhowl.com

Western hosts virtual Family Weekend

Student Engagement accommodates students living at home and on campus for Family Weekend

Sydney Carpenter | News Editor

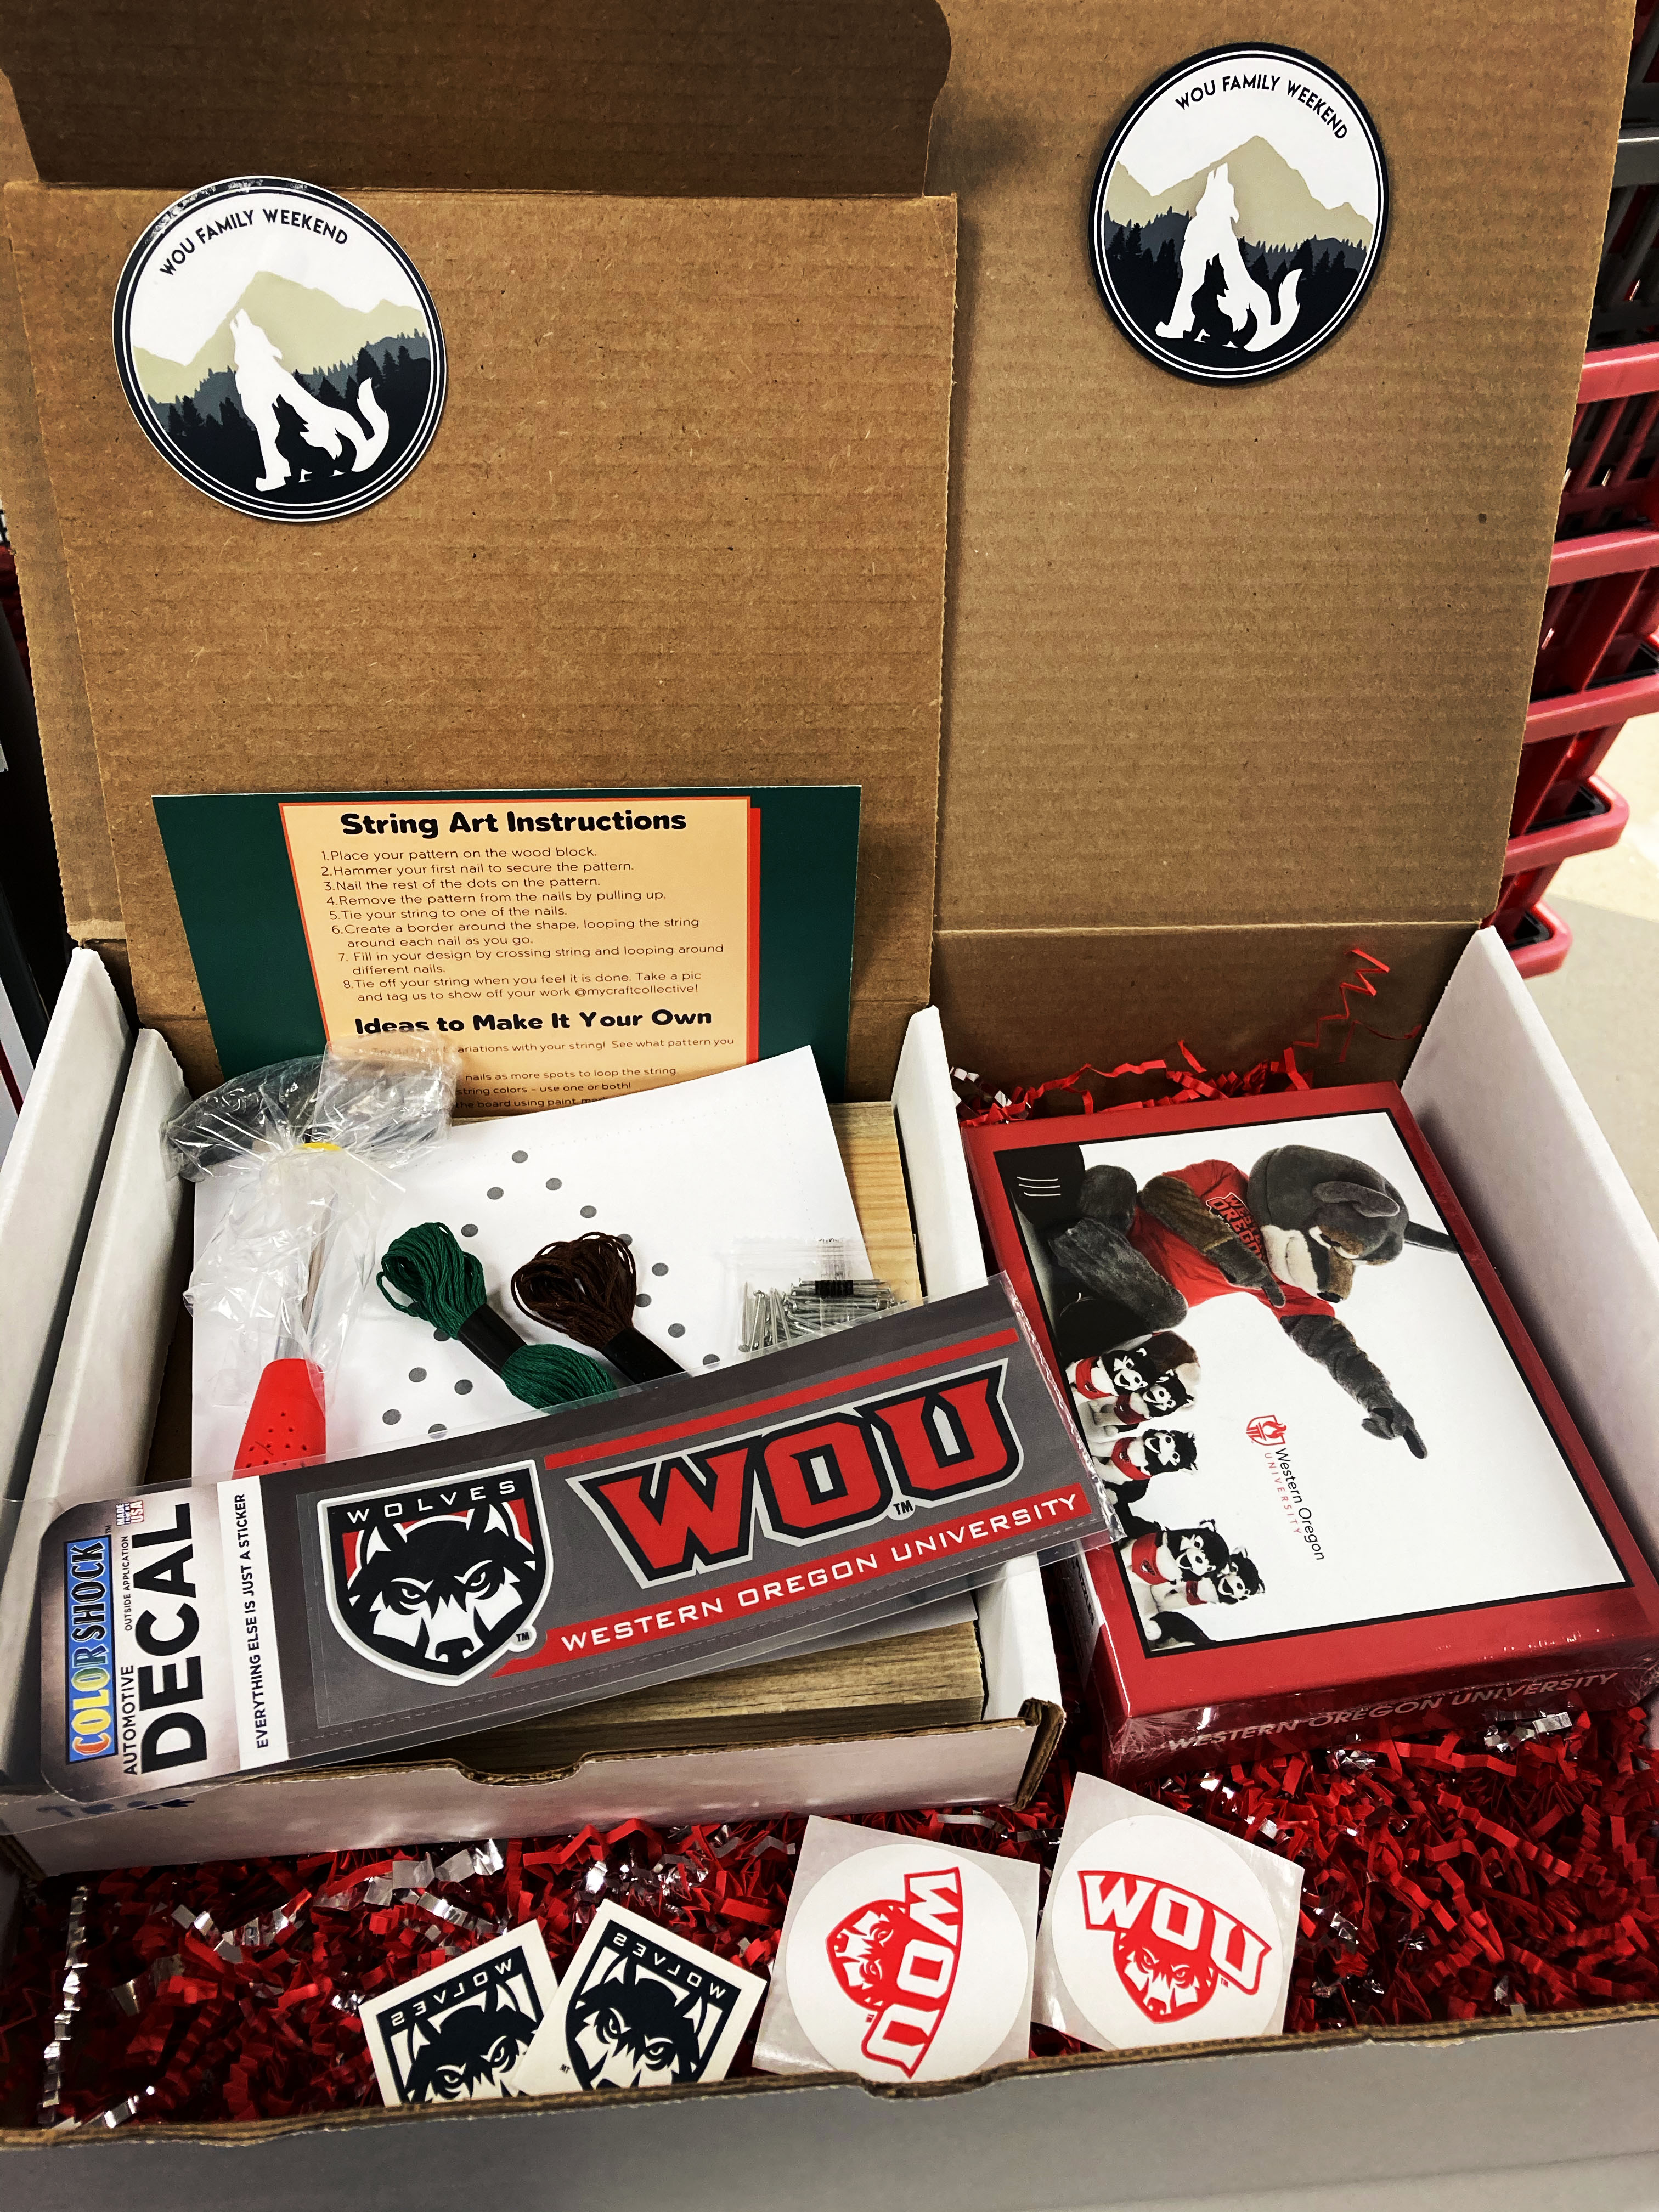
Western’s 66th annual Family Weekend has been decentralized and formatted to fit an online platform. For this year’s activities, Student Engagement has ensured students living on campus and students living at home can participate by creating two “WOU family care packages.”

Packages: Families or students can purchase these packages for $20 which includes shipping cost. If families have more than one Western student, or there are multiple families, students can purchase two packages total.

  1. Package #1: Made for students living at home ⏤ Contains a Western family-themed car decal, a DIY craft kit, murder mystery Zoom link, a custom Western puzzle and Family Weekend merchandise.
  2. Package #2: Made for students living on or near campus ⏤ Contains a Western family-themed car decal, a DIY craft kit, murdery mystery Zoom link, Family Weekend merchandise and a card that is sent to the student or family member.

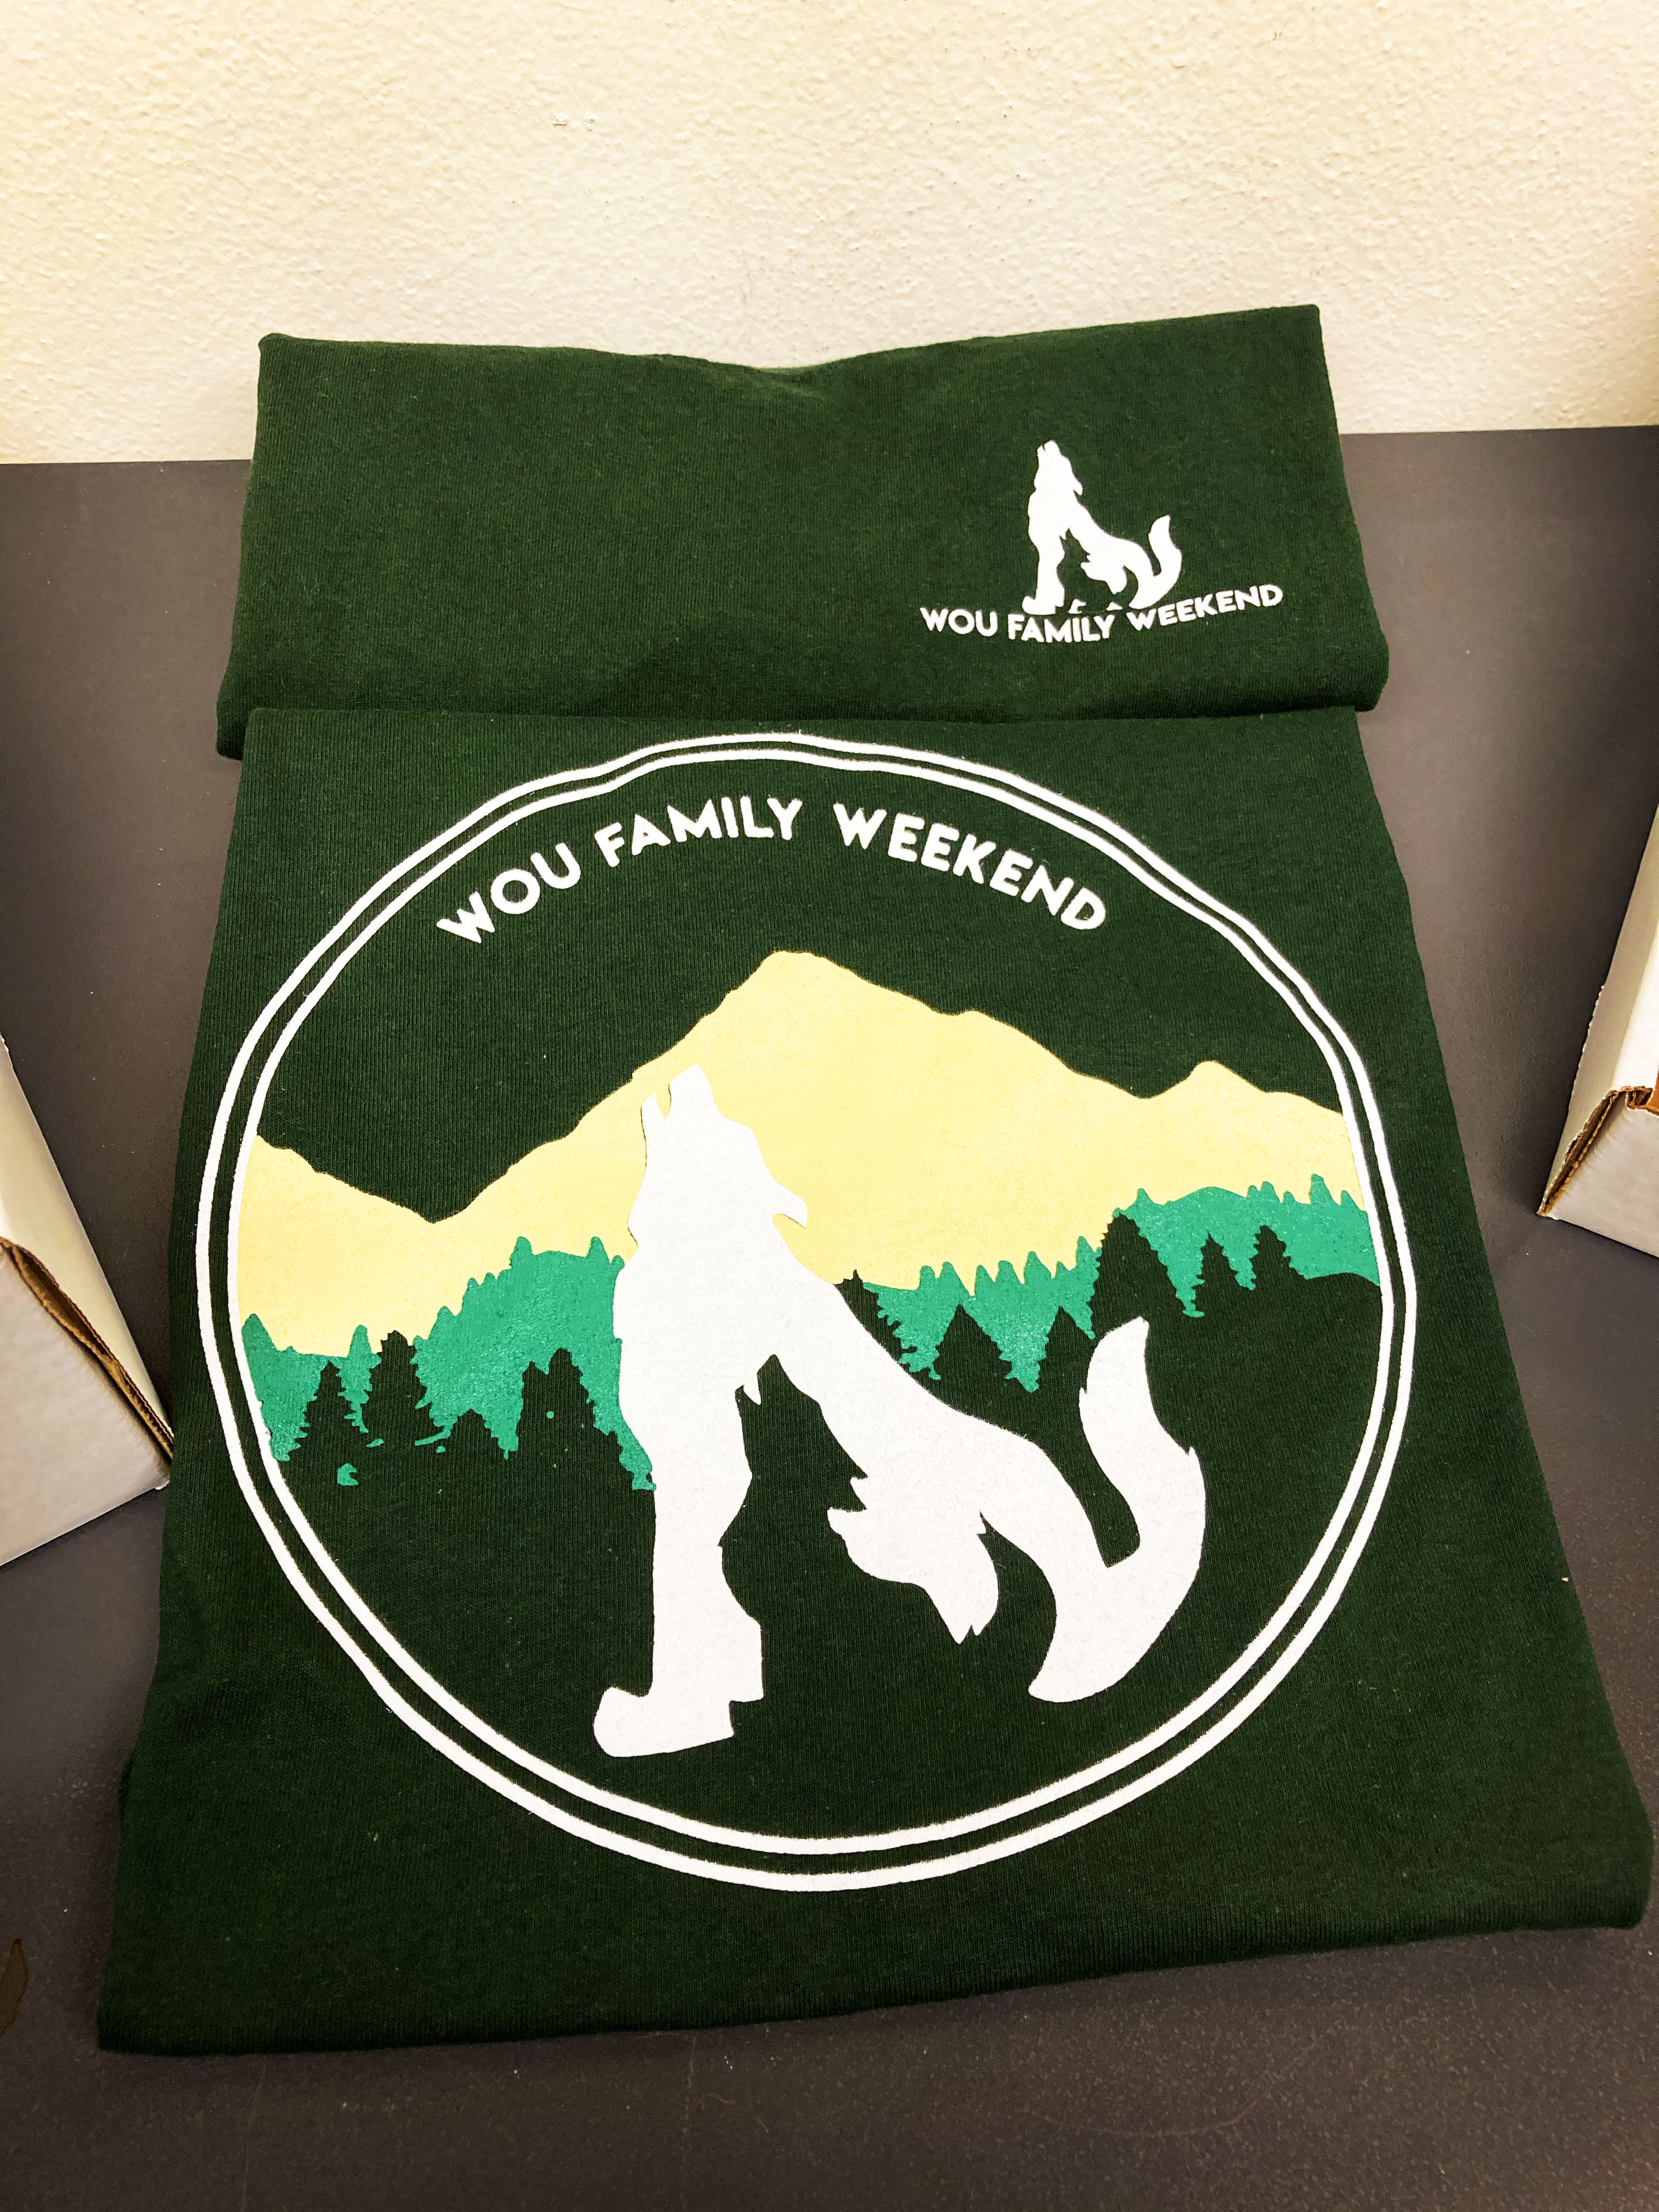
Families can add on $10 if they are interested in purchasing additional Family Weekend t-shirts. Each family can order up to three t-shirts. For more information, visit their website at this link https://wou.edu/student-engagement/programs/family-weekend. All package orders are due to Kelly Welch by March 29.

Contact the author scarpenter18@mail.wou.edu

Embroidery is one of life’s thimblest pleasures

Embroidery is the latest activity to try from home 

Natalie‌ ‌Dean‌ ‌|‌ ‌Entertainment‌ ‌Editor‌ ‌

Through the last year, people have had to get creative with their activities and pastimes. The world went through a collective bread baking phase and making the TikTok famous whipped Dalgona coffee, but there’s one activity that’s been overlooked. Embroidery has long been used throughout history to adorn and craft clothing items or to make elaborate art pieces. It continues to be a popular and eclectic activity, with a variety of ways to mix materials and try new designs. 

The starting materials don’t have to cost the artist a lot of money, and many smaller items can be found around the house or at an art store. It’s a hands on project that requires practice and patience, but it pays off to see the finished product. Here are some insider knowledge, tips and tricks that can make it easier to enjoy:

Starter supplies: 

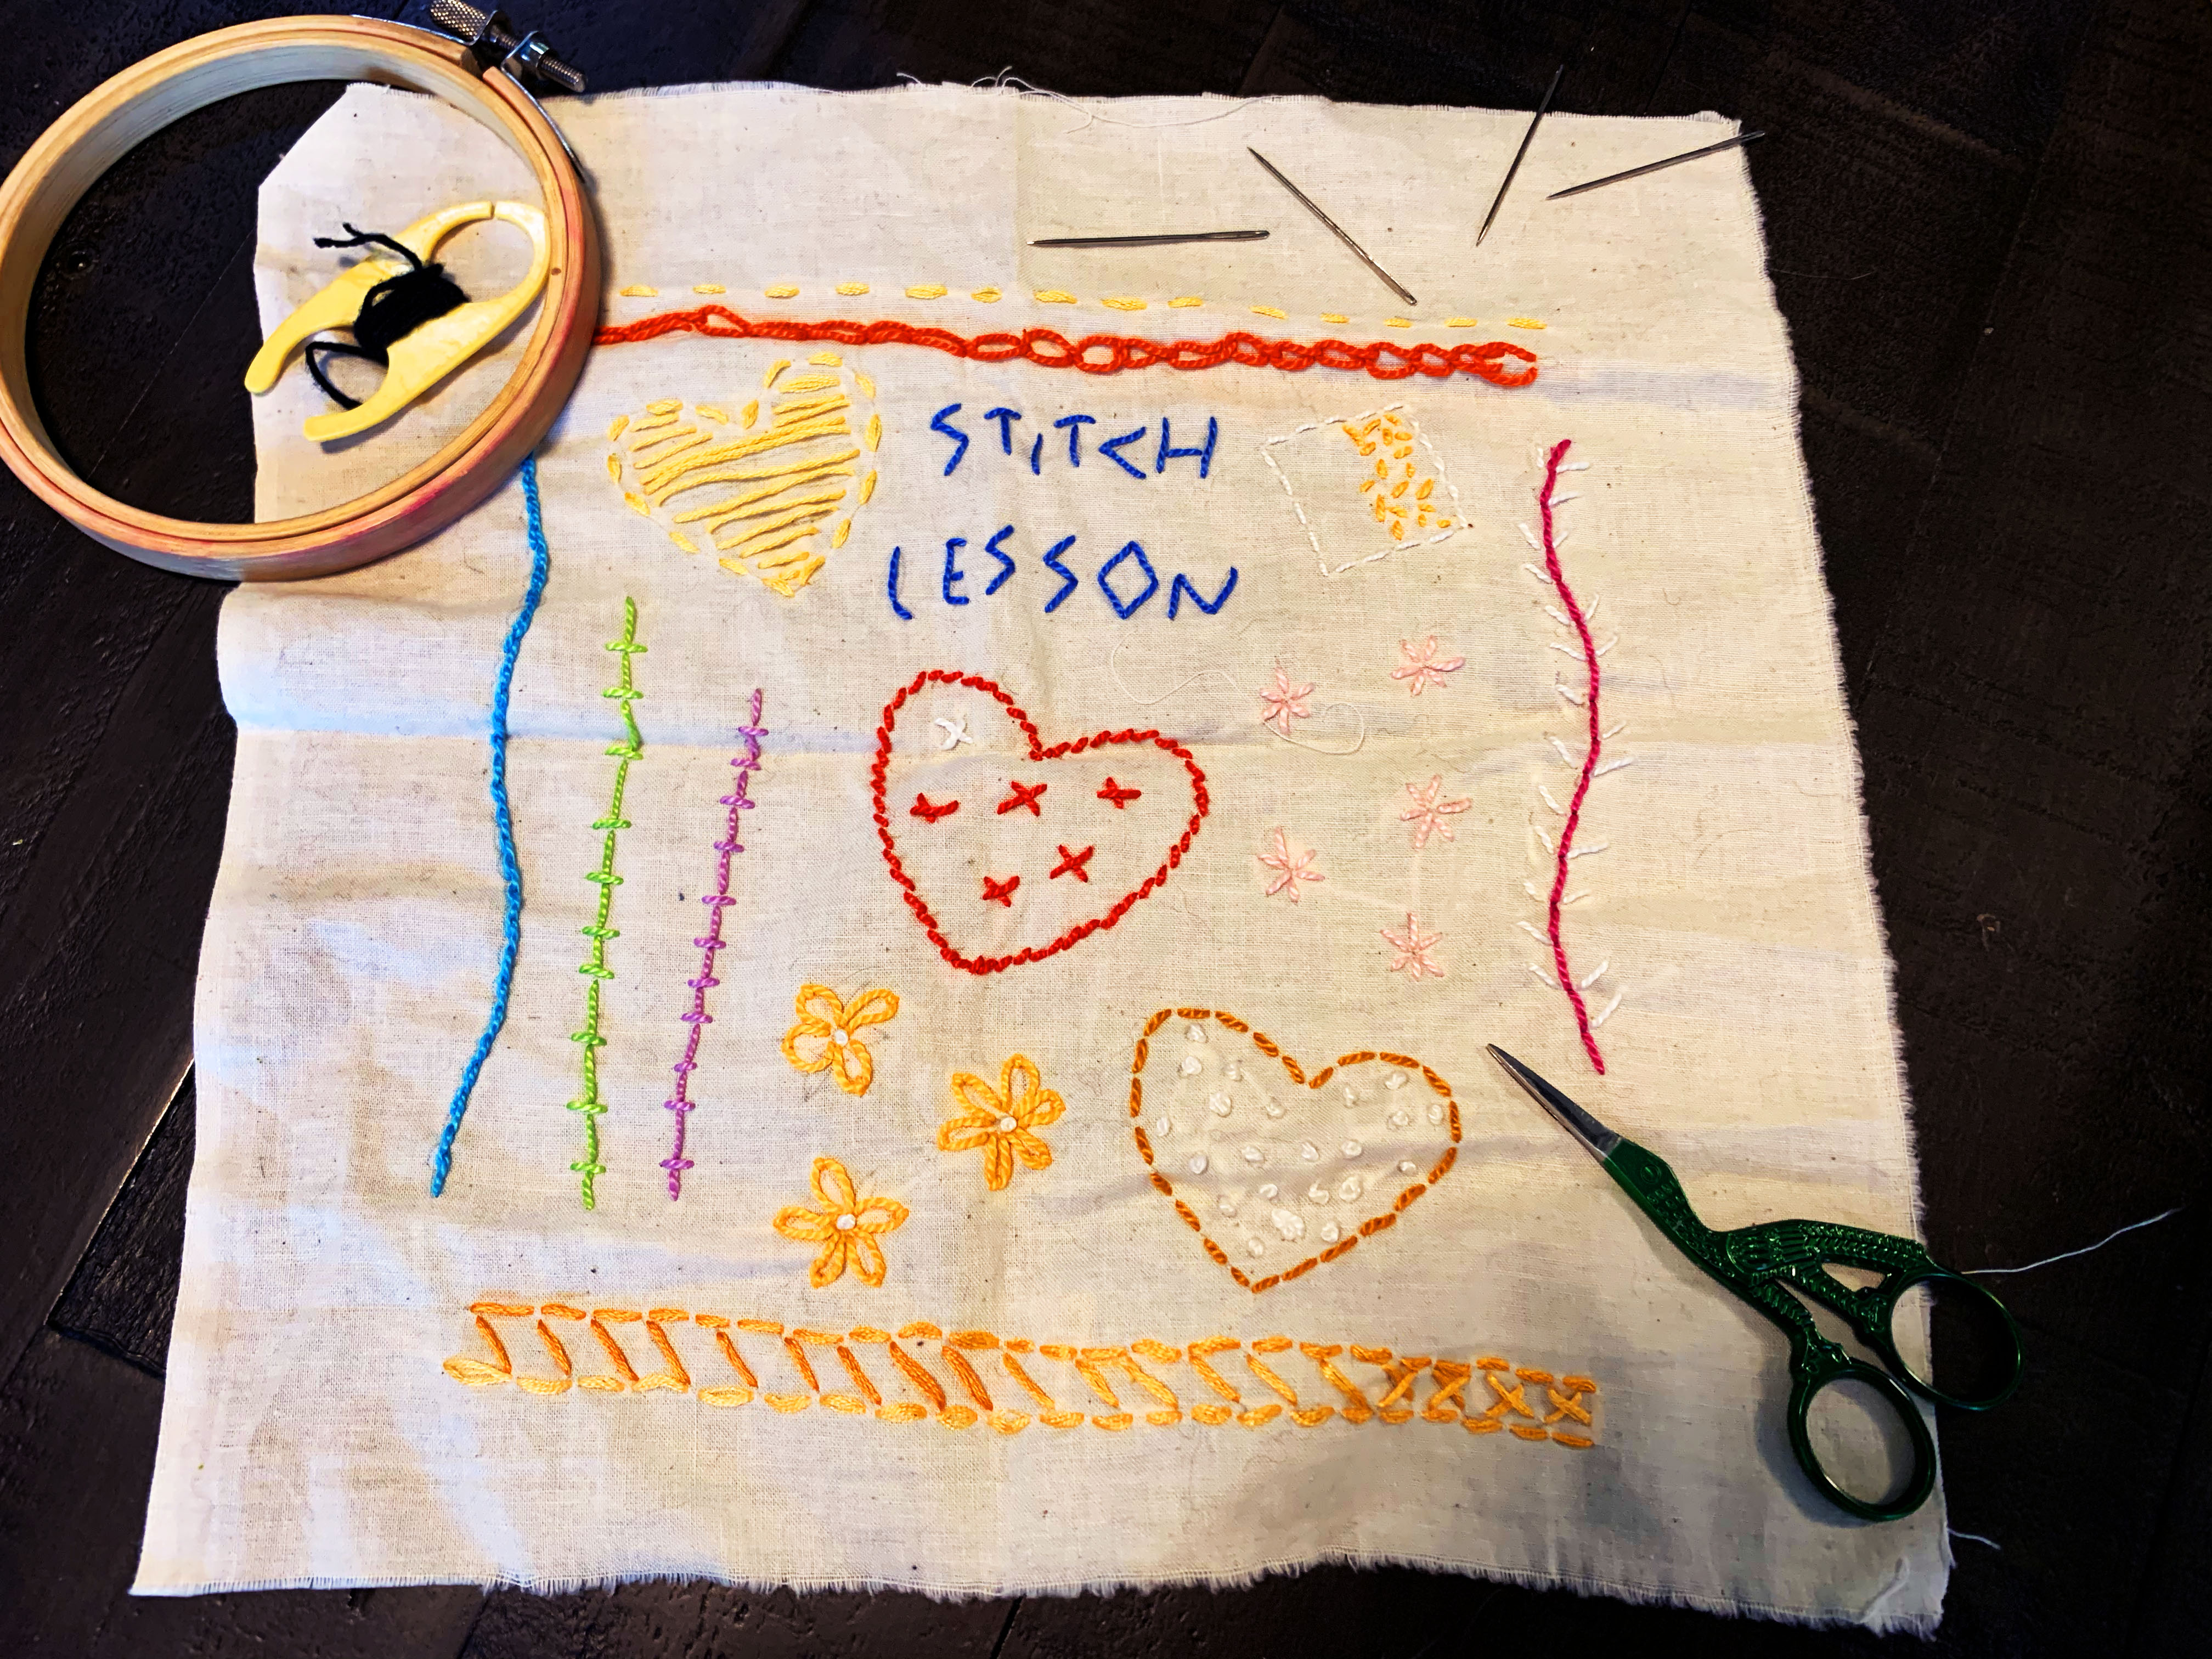
  • Key items for any beginner embroiderer would be a wooden or plastic embroidery hoop or frame, a set of needles, thread of the artist’s choosing, fabric and sharp scissors. 
  • I find it useful to have a small pouch or container to keep supplies in, and it helps keep some of the smaller items organized.
  • Hoops, frames, fabrics and embroidery patterns can be found in thrift stores at low price points and often be bought in bulk. 

Optional supplies: 

    • There are specialty embroidery scissors that one can use, which tend to be smaller and sharper than traditional scissors — they are also often decorated or embossed. 
    • A thimble is small but mighty, and it can protect sensitive fingertips from the threading and sewing process. 
    • Using a very small amount of thread conditioner or beeswax can prevent tangling and knotting. If using a conditioner kit, lightly take the thread that is being used and run it along with the conditioning agent, while pressing against the thread with a finger. Then, pull the thread between two fingers to remove any static.

    Learn the stitches: 

    • Knowing the difference between a French Knot, a Running Stitch, Chain Stitch, Stem or Split Stitch, Long and Short Stitches, Woven Wheels and Lazy Daisy Loops will help narrow down which ones should be used for the desired effect.  
    • Take it slow at first; consider watching YouTube videos and practicing on cheaper fabric to get the hang of it. 
    • Watch out for pulling stitches too tight, which can distort the fabric and overall design. 
    • Overlapping stitches can provide a lush look for flowers or nature scenes.
    • Stitches that involve knots can be perfect for finer details or building texture.

    Contact the author at ndean17@wou.edu

    Creating custom bath bombs

    Destress with DIY bath bombs

    Allison Vanderzanden | Lifestyle Editor

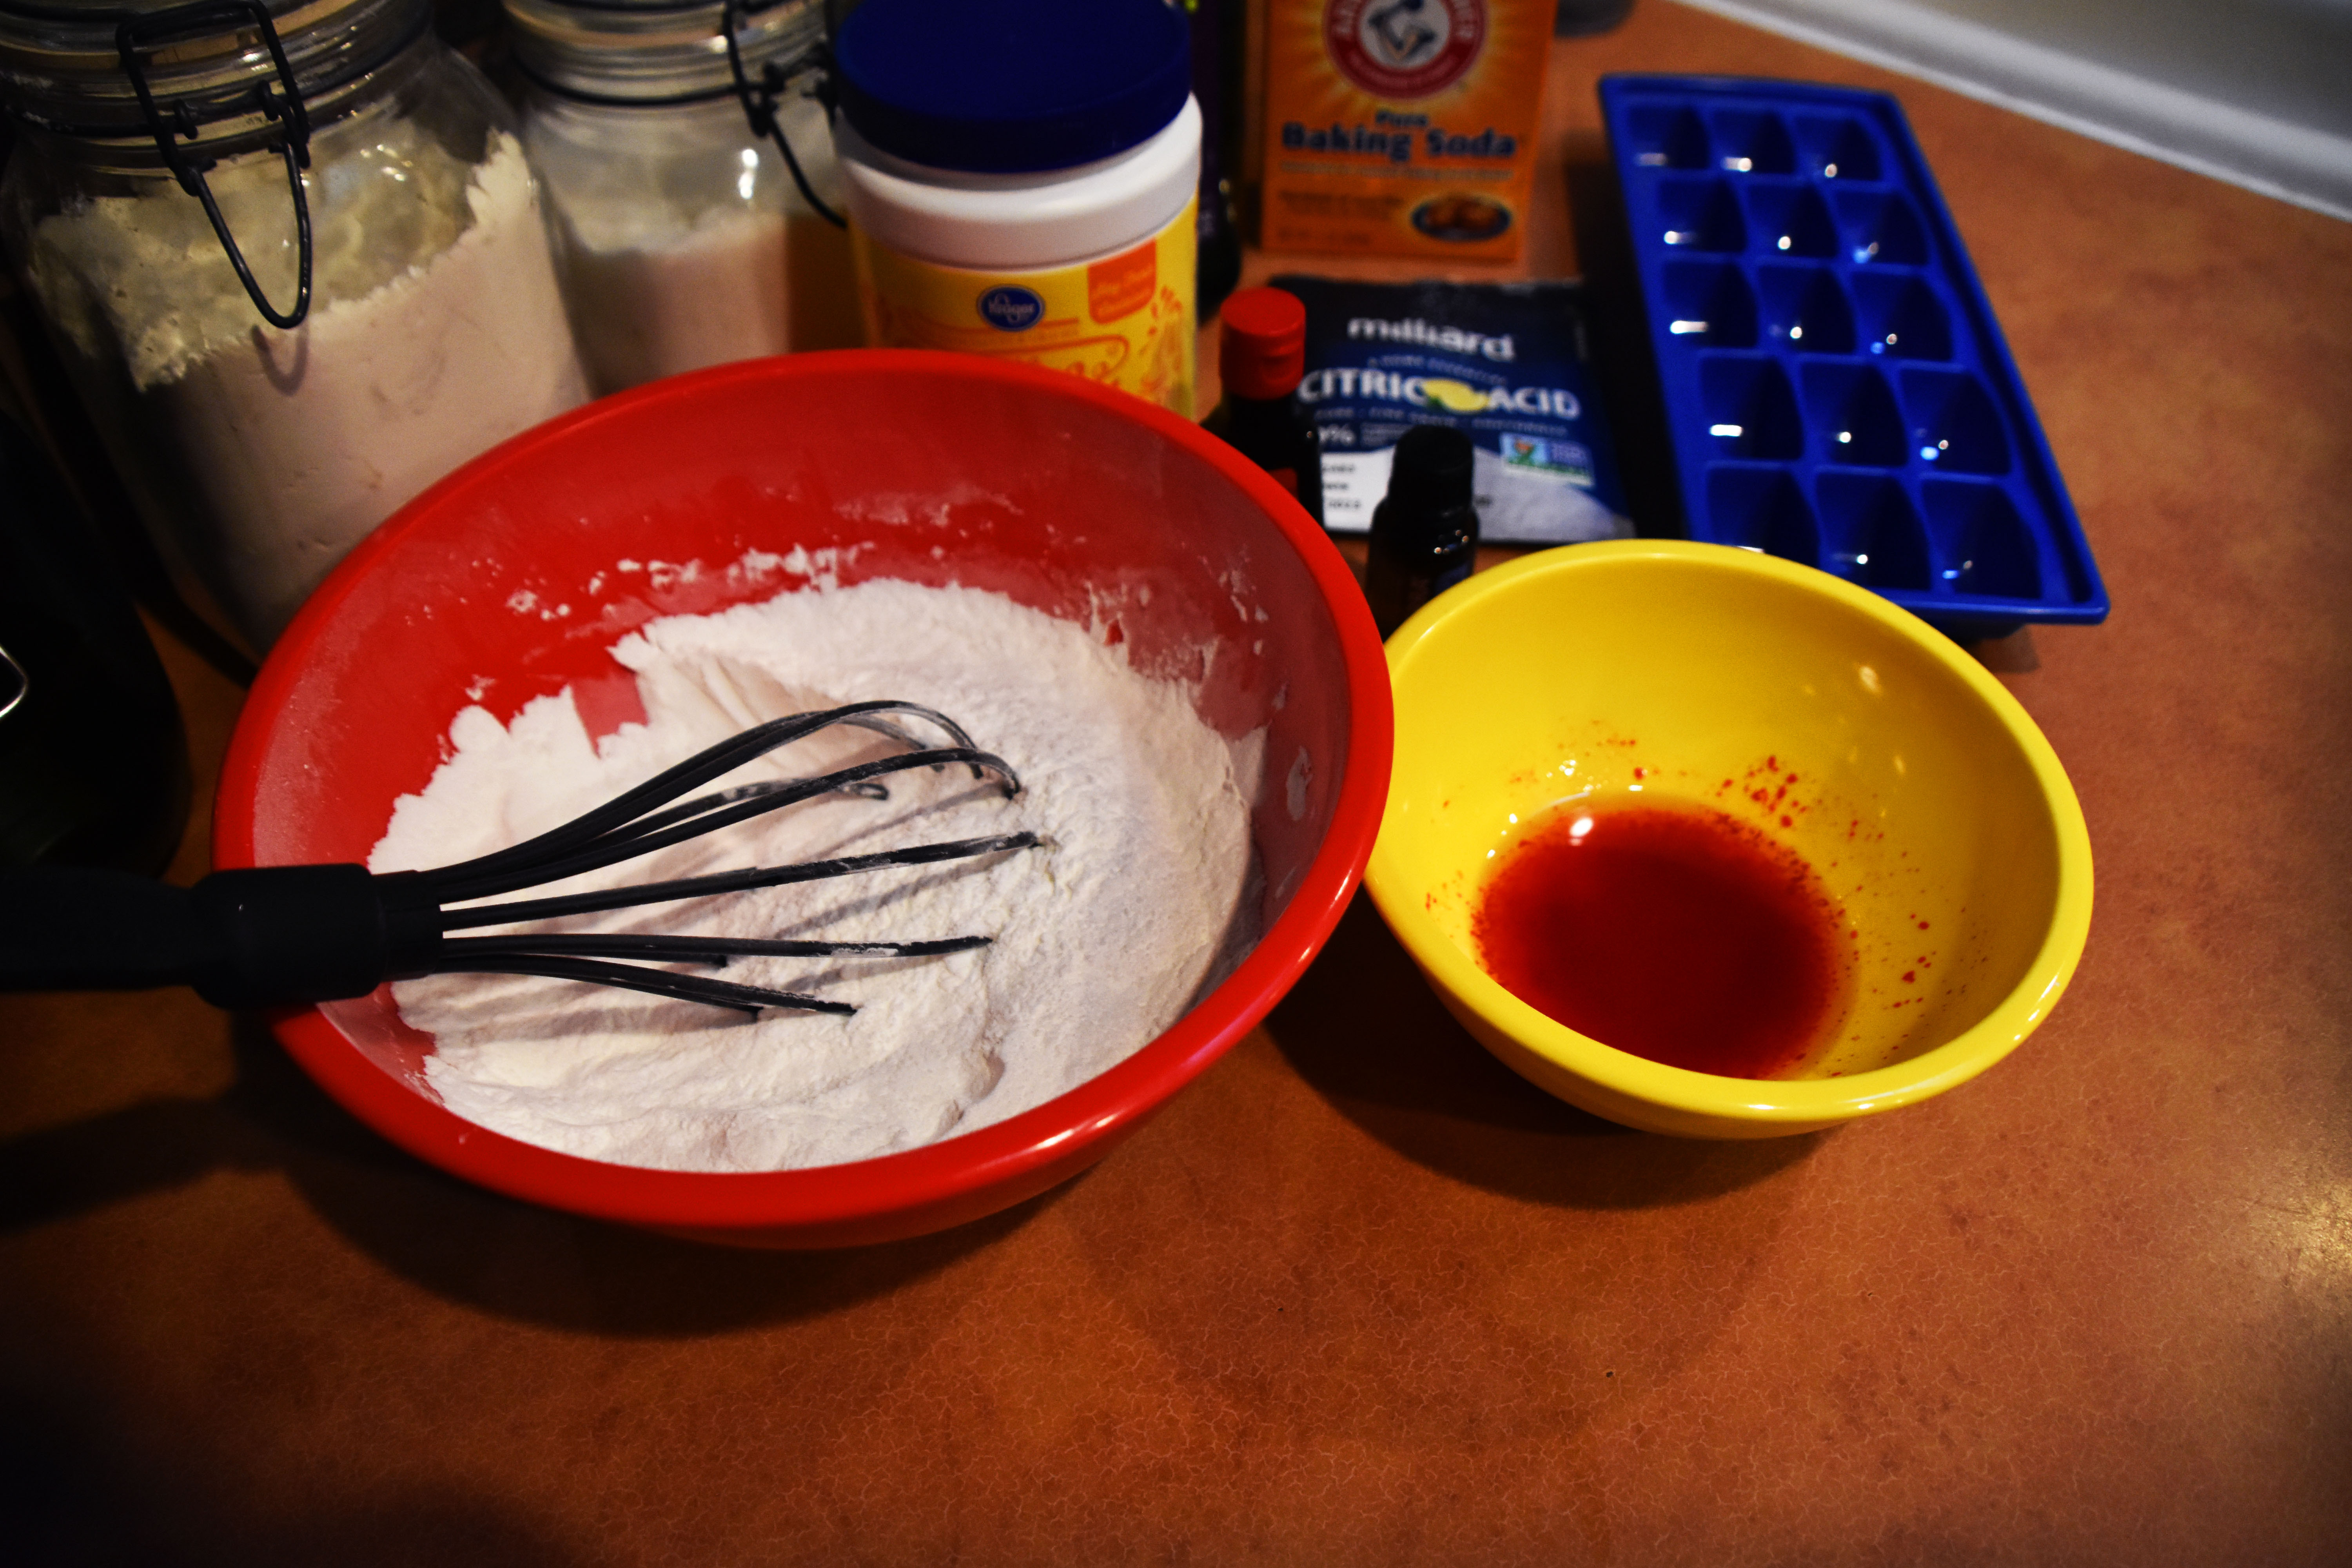
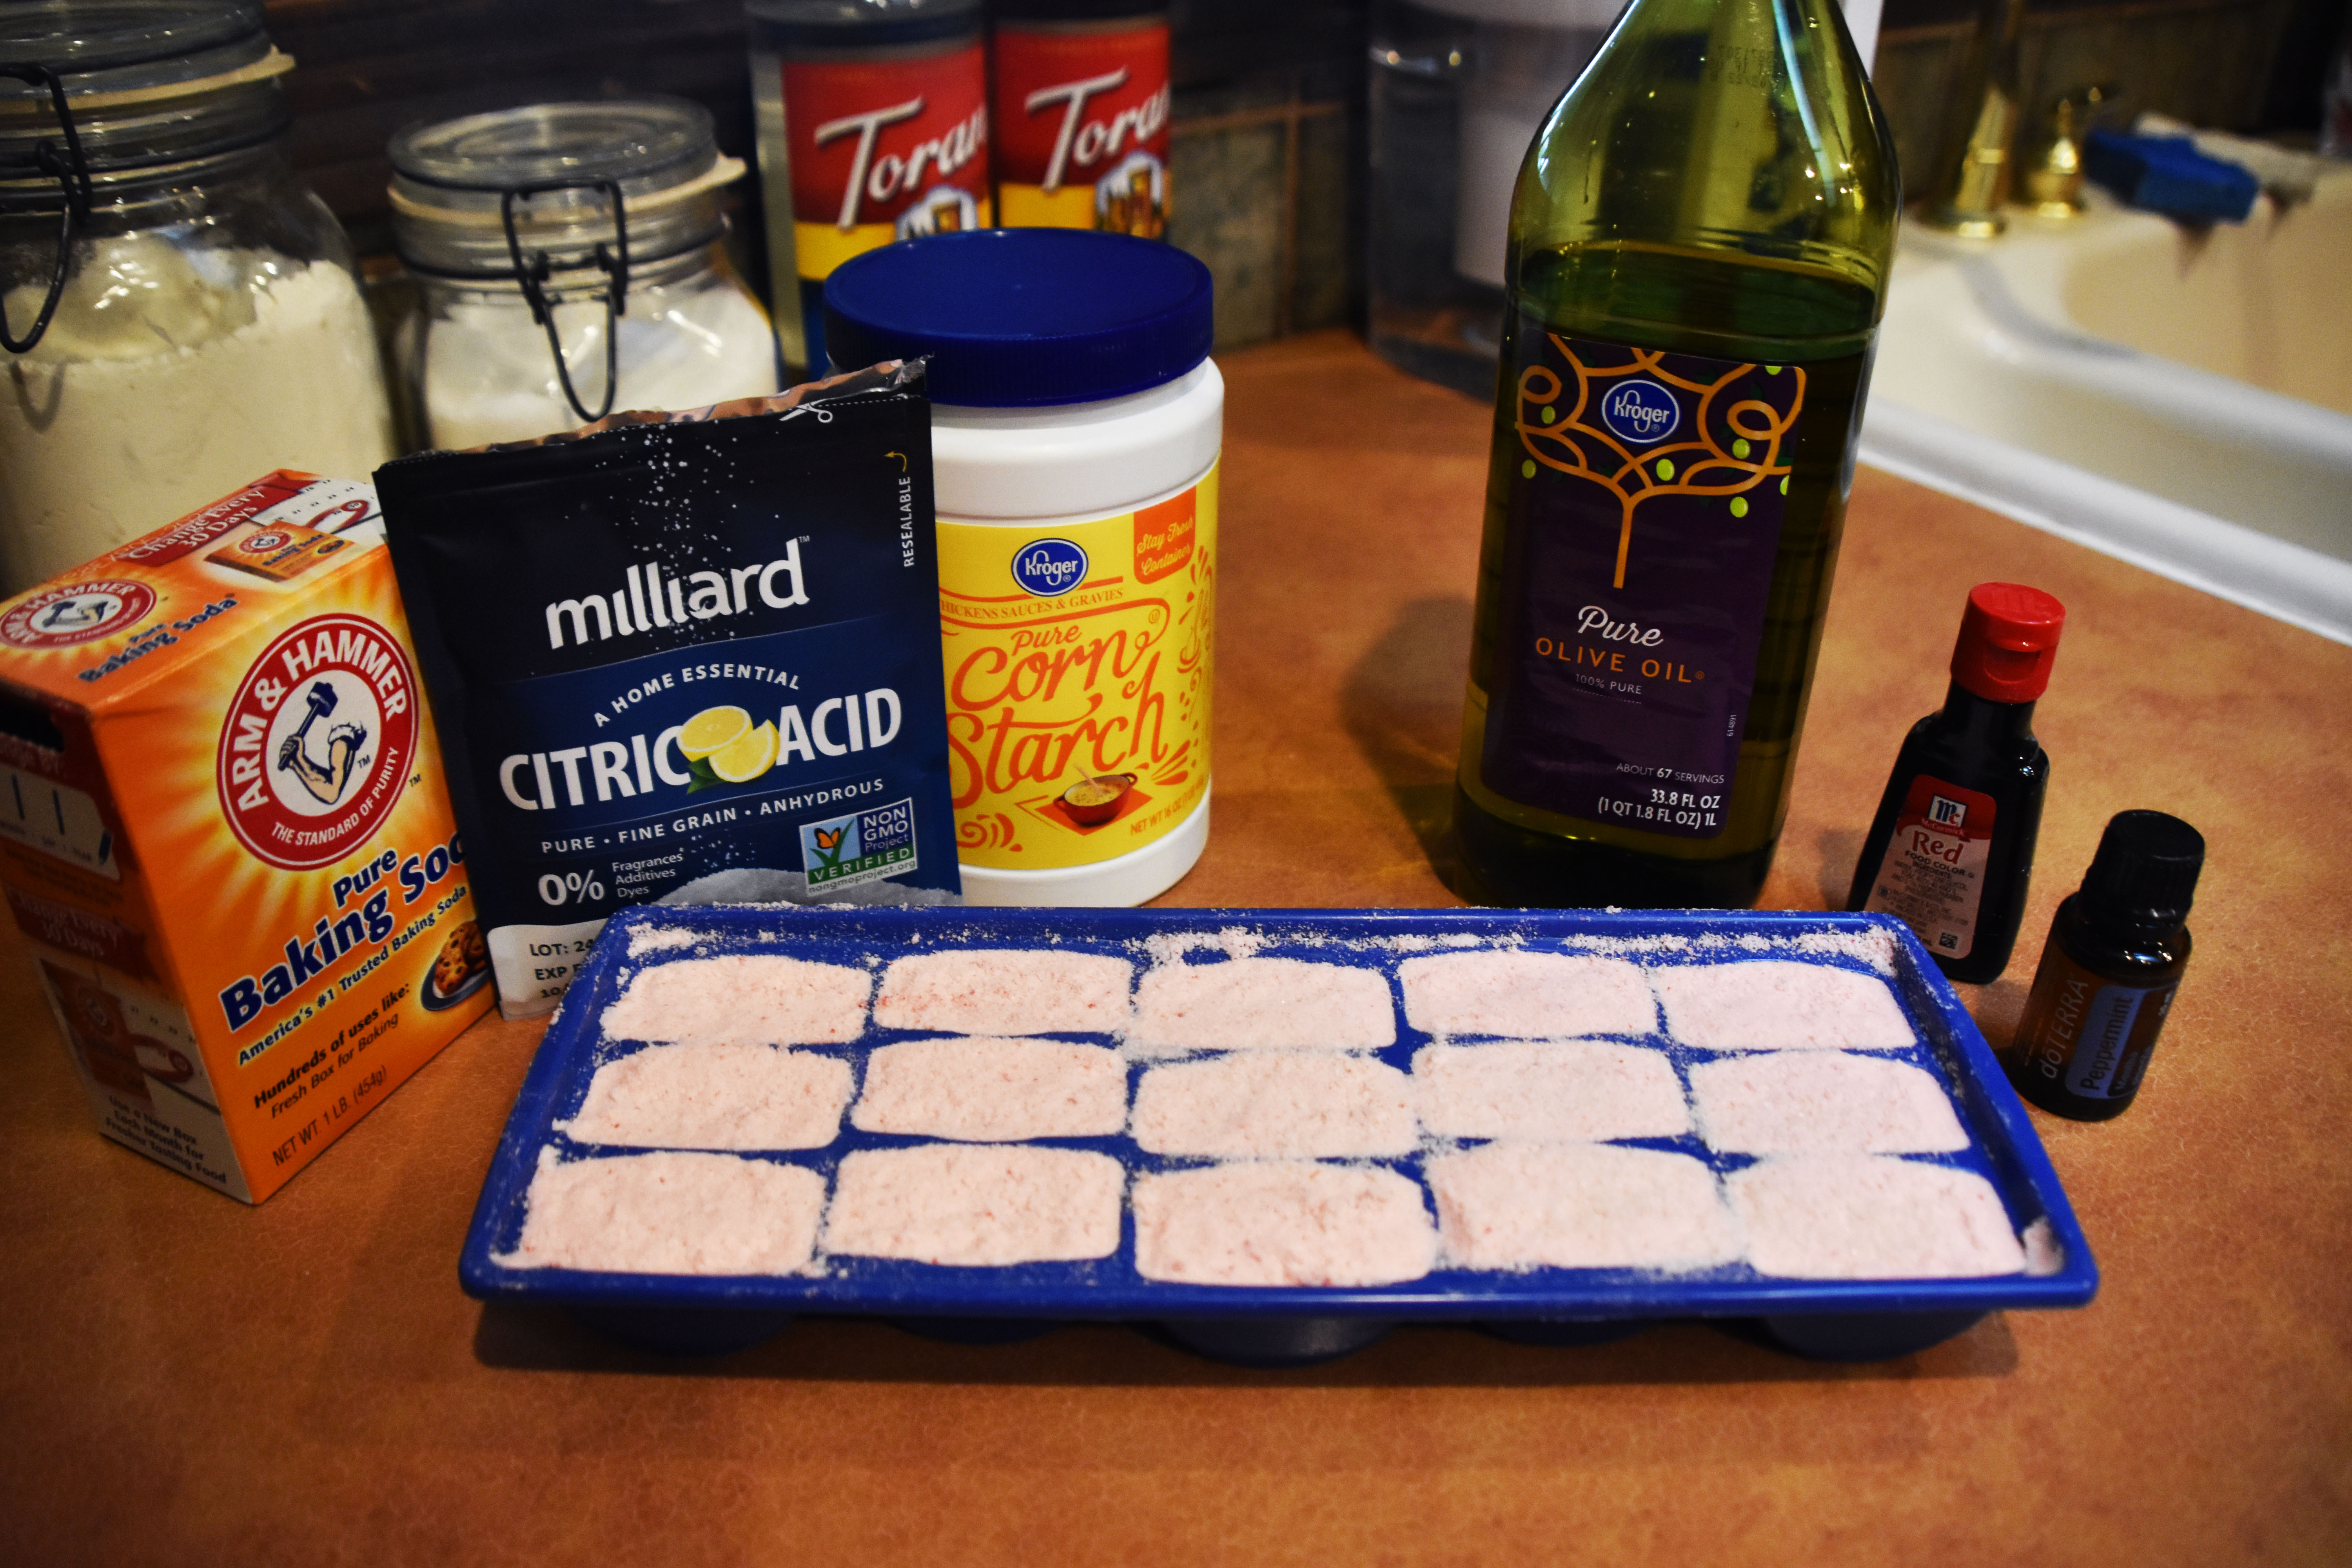
    What better way to wind down after a stressful day than with a hot bath? Elevate bath time with homemade miniature bath bombs made in an ice cube tray or other silicone mold. Customize the scents, colors and decorations — like dried lavender or sprinkles — as desired. 

    DIY BATH BOMBS

    Start to finish: 1 day

    Yields: 6 medium-sized bath bombs

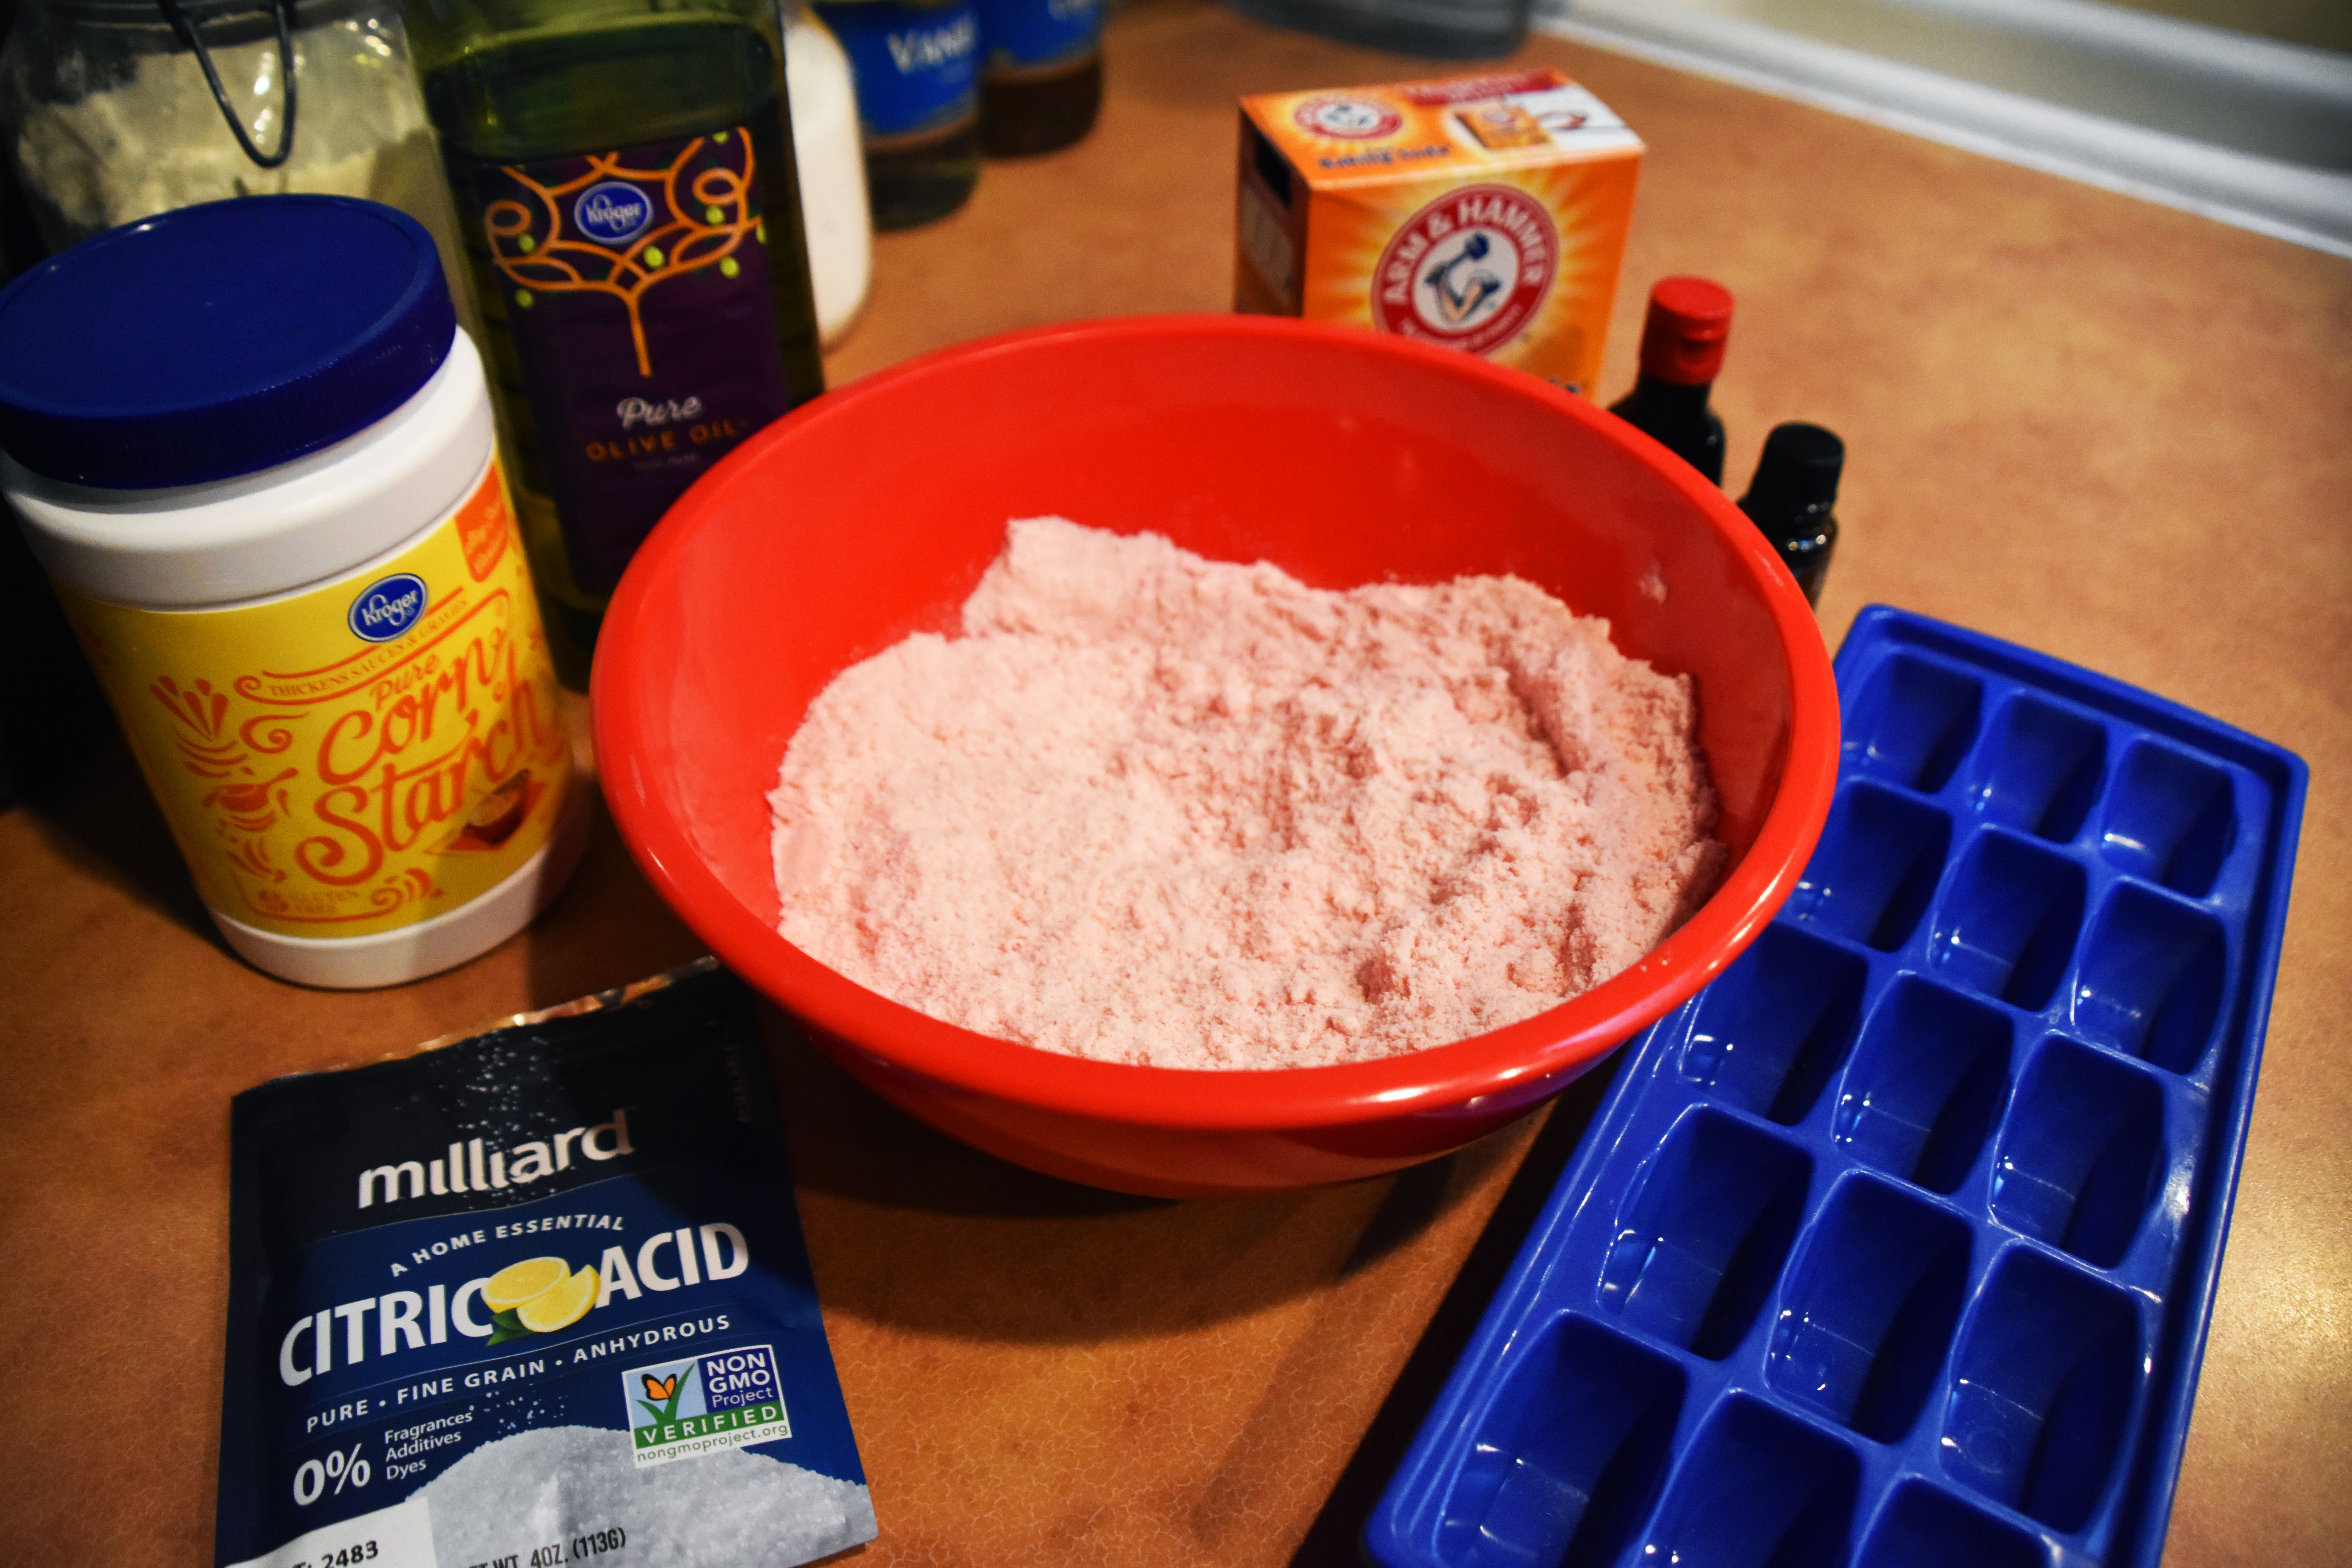
    1 cup baking soda

    ½ cup citric acid

    ½ cup cornstarch

    1 to 2 teaspoons water or witch hazel

    10 drops essential oil of choice

    OPTIONAL

    Food coloring

    ½ cup Epsom salt

    2 tablespoons coconut, almond or olive oil

    In a large bowl, whisk together dry ingredients. In a separate small bowl, melt the coconut or almond oil if using, then combine wet ingredients.

    While continuously whisking, very slowly drizzle the wet ingredient mixture into the dry ingredients. The wet mixture may also be poured into a spray bottle to make combining easier. The outcome should be similar to a dry, crumbly sand with no clumps. If the mixture gets too wet, the bath bomb will fizz too soon.

    Tightly pack the mixture into the ice cube tray or silicone mold. Let set for 10 minutes, then carefully remove and let harden on parchment paper for 24 hours. Finished product will still be somewhat fragile.

    Store in a mason jar or package in cellophane for gifting.

    Recipe from 100daysofrealfood.com

    Contact the author at avanderzanden19@mail.wou.edu